When I travel, I tend to base my plans and destinations around what types of activities I can take part in – hiking, biking, snorkeling, and snowboarding to name a few. While its great to have fun and relax on vacation and have a “no worries” attitude, it is also important to be safe and take preventive measures as simple as wearing a helmet or packing a first aid kit. Any situation could spin quickly out of your control or not go as planned, so taking simple actions could make a difference!

Guest Writer Nathan Souleret, USCG Pilot
It is my pleasure to welcome my first guest blogger to Two Toned Travelers. My brother, Nathan, is an HC-144 instructor pilot in the U. S. Coast Guard, and is highly trained in search and rescue. He has some great survival tips for active travelers:
“As a Coast Guard search and rescue pilot, I have spent a lot of time looking for people who are either lost or in distress. Most of my time has been spent over water, but plenty of my colleagues have spent time searching islands, forests and swamps as well. However, should you find yourself lost, here are some hints on how to be found more quickly and easily.
The best tip I have is to not get lost in the first place. GPS is a fantastic tool, but having some general awareness of whether land or the nearest town is north, south, east or west will help fill the gap when the batteries die. If you are on the water, make sure your boat has plenty of fuel or a good radio, preferably both. Another free way to help yourself get found is to let someone at home know your intended route and estimated time of arrival. It isn’t perfect, but it will help us narrow down where to look.

View of ocean from search aircraft
When boating, the US Coast Guard approved life jackets that I’m sure you are always wearing really do look cool in tactical black, but black, blue, dark green and other such hues will not make you easy to see from our aircraft, particularly at night. Make a fashion statement in international orange, start a trend! Even with a life vest, you only have about 7 hours in 60 degree water if wearing light clothing, so the color of your life vest could make a difference. An excellent compromise between style and visibility is an inflatable life vest. They cost a pretty penny compared to non-inflatable ones, but they are comfortable and unobtrusive when un-inflated, are bright orange or yellow when inflated, and look pretty darn cool to boot. Interestingly, according to the TSA’s own website, you can actually bring a self-inflating life-vest complete with CO2 cylinder in your carry-on bag. Expect to have your bag screened, though, even if you go through the Pre-Check line.

Signal Mirror (with instructions on back)
A flashlight is an excellent tool to have as well. The wonders of modern science have provided us with some fantastically bright flashlights that are quite compact, great for lighting up the dark of night, signaling things, and blinding small animals and your friends. If an aircraft or boat is searching for you at night, it will make you immeasurably easier to find if you flash the light in the direction of the search asset. Another option is an actual strobe light, as it does the flashing for you. Remember, night is dark, and while we have cool stuff like night vision goggles, all they do is make the night less dark. But if you have a flashlight or strobe you will stick out like a sore thumb. If you are perusing the internet, you may come across some nifty looking laser emergency signals. Sounds great, but please keep in mind that aircraft take being lased extremely seriously and you may just cause them to depart scene rather than pick you up. As pilots, we can’t really tell the difference between a benign laser signal and a dangerously powerful laser that could damage our vision. For that matter, please don’t ever lase an aircraft, no matter how much you want to see how far your cool new toy goes. It is a federal crime and taken very seriously these days. No less than the FBI will come knocking on your door to inform you of your impending fines and possible jail time. No kidding. Some dude in California just got 14 years for lasing both a medevac helicopter and a police helicopter. If you like fireworks, then signal flares might be up your alley, though if you want to bring your survival kit traveling, you aren’t going to get any of that past the TSA. During daylight, your flashlight might have a difficult time competing with that big flashlight in the sky: the sun. However, you can use the sun to your advantage with a signal mirror. They take a little practice to use properly, but they don’t have batteries or other electronic widgets that can die at inopportune moments. Plus you can use it to make sure you get your hair just right for that rescue selfie you’ll take when help arrives….
 One of the best tools for getting found quickly is a 406 EPIRB (Emergency Position Indicating Radio Beacon) or PLB (Personal Locating Beacon). These days they are about the size of a couple decks of cards (I was going to say ‘pack of cigarettes’, but who smokes anymore?…), and are pretty reasonably priced for the capability they provide. All you have to do is push a button (and maybe flip up an antenna) and it will send a signal with your information and location to a satellite monitored by the Air Force and rescuers will head your way. On land, get to a high spot if you can. While you just need to see the sky for the satellite to get the signal, mountains and such can make it difficult for an aircraft to home in on it. If you do buy one, I implore you to PLEASE register it per the instructions. Registration is free, just go to the website and fill in the information. That way if it accidentally goes off, we can just call you instead of launching the fleet. There are a variety of other GPS position reporting devices out there beyond just a simple EPIRB. There are ones that will upload a modern version of Hansel and Gretel’s bread crumb trail to the internet where people who like you can see where you are and watch your progress as you climb Mt. Rainier or whatever you’re up to. Do some research, see what fits the bill for you.

Emergency Survival Blanket
Let’s say it’s just not your day, and help isn’t going to get there today. A space blanket is a great thing to bring along. They are insanely compact for the insulation they provide. Seriously, you wouldn’t think that a super-thin sheet of reflective mylar would really do much, but it does. They are also conveniently reflective and shiny, and can double as a signaling device. And they came from outer space. Ok, no they didn’t, I made that up. But seriously, get one and check it out. At the very least, you can build a sweet fort in the back yard with it. Packing away some emergency rations isn’t a bad idea either, because nothing sucks more than being stuck in the middle of nowhere than being stuck in the middle of nowhere and hungry and thirsty. Just don’t drink salt water. You know that quote, “water, water, everywhere and not a drop to drink”? Well, he wasn’t kidding.
I’d also recommend at least some basic first aid items. One of the reasons people get in distress is due to injury, so having something to help with that could make the difference while you are waiting for help to arrive.

Fire starters and water purification tablets
When considering cost on survival items, think of them as an insurance policy. Sure, if you get some of the fancy stuff, it might end up being a few hundred bucks all told, but wouldn’t you pay a few hundred bucks to not disappear in the giant ocean? Consider the difficulties in locating Malaysian Air flight 370, and recall that you are much smaller than a jumbo jet.
There is no perfect solution for being found, even a 406 EPIRB has its limitations. But something is sure better than nothing when it comes to survival. Take a look around, do some research, and see what best fits your needs.” ~ Nathan Souleret, USCG Pilot
Safety Items to Consider:
– Adventure Medical Kits – UltraLight & Watertight
– Grabber Outdoors The Original Space Brand Emergency Survival Blanket
– ACR PLB-375 ResQLink+ Personal Locating Beacon with 406 MHz Floating PLB, Built-In GPS, Strobe and 121 MHz Homing Beacon
– Dorcy 41-2510 Floating Waterproof LED Flashlight
– Ultimate Survival Technologies 2×3 StarFlash Emergency Signal Mirror
– ACR Firefly Pro Led Strobe Light
– Revere ComfortMax Auto – Inflatable Lifevest PFD
– Coleman Potable Aqua with PA Plus Chemical Water Treatment
– UST Wet Fire Tinder
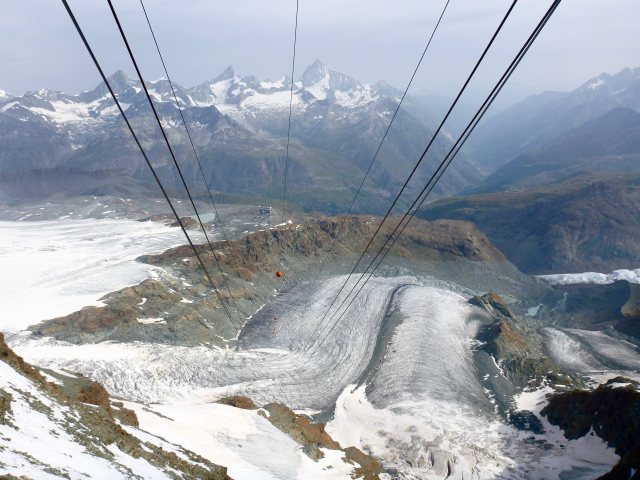


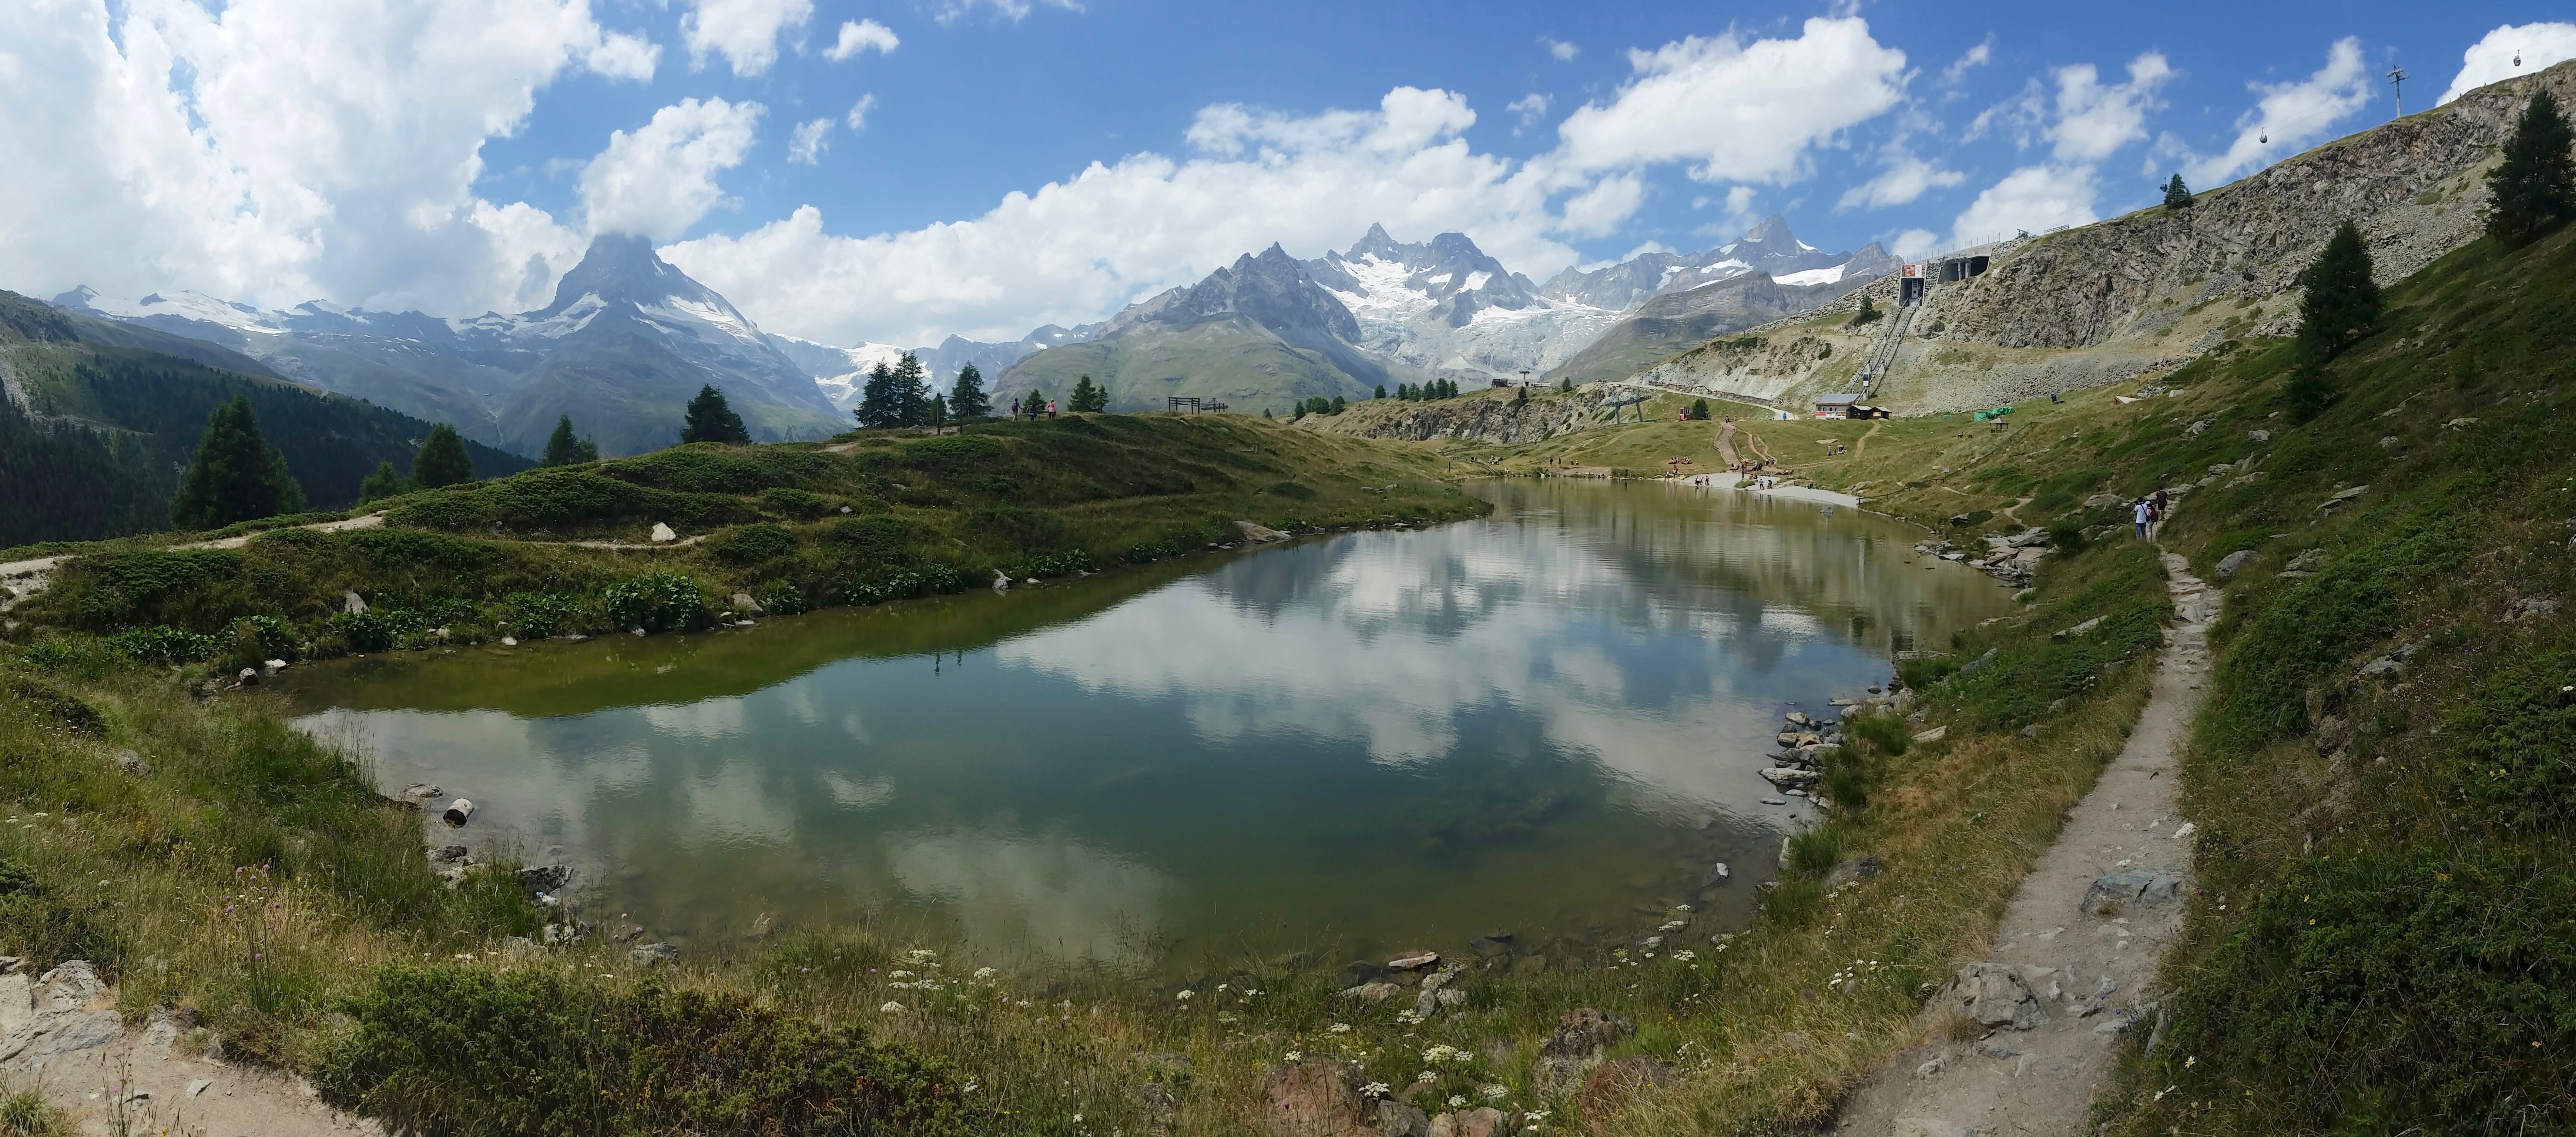


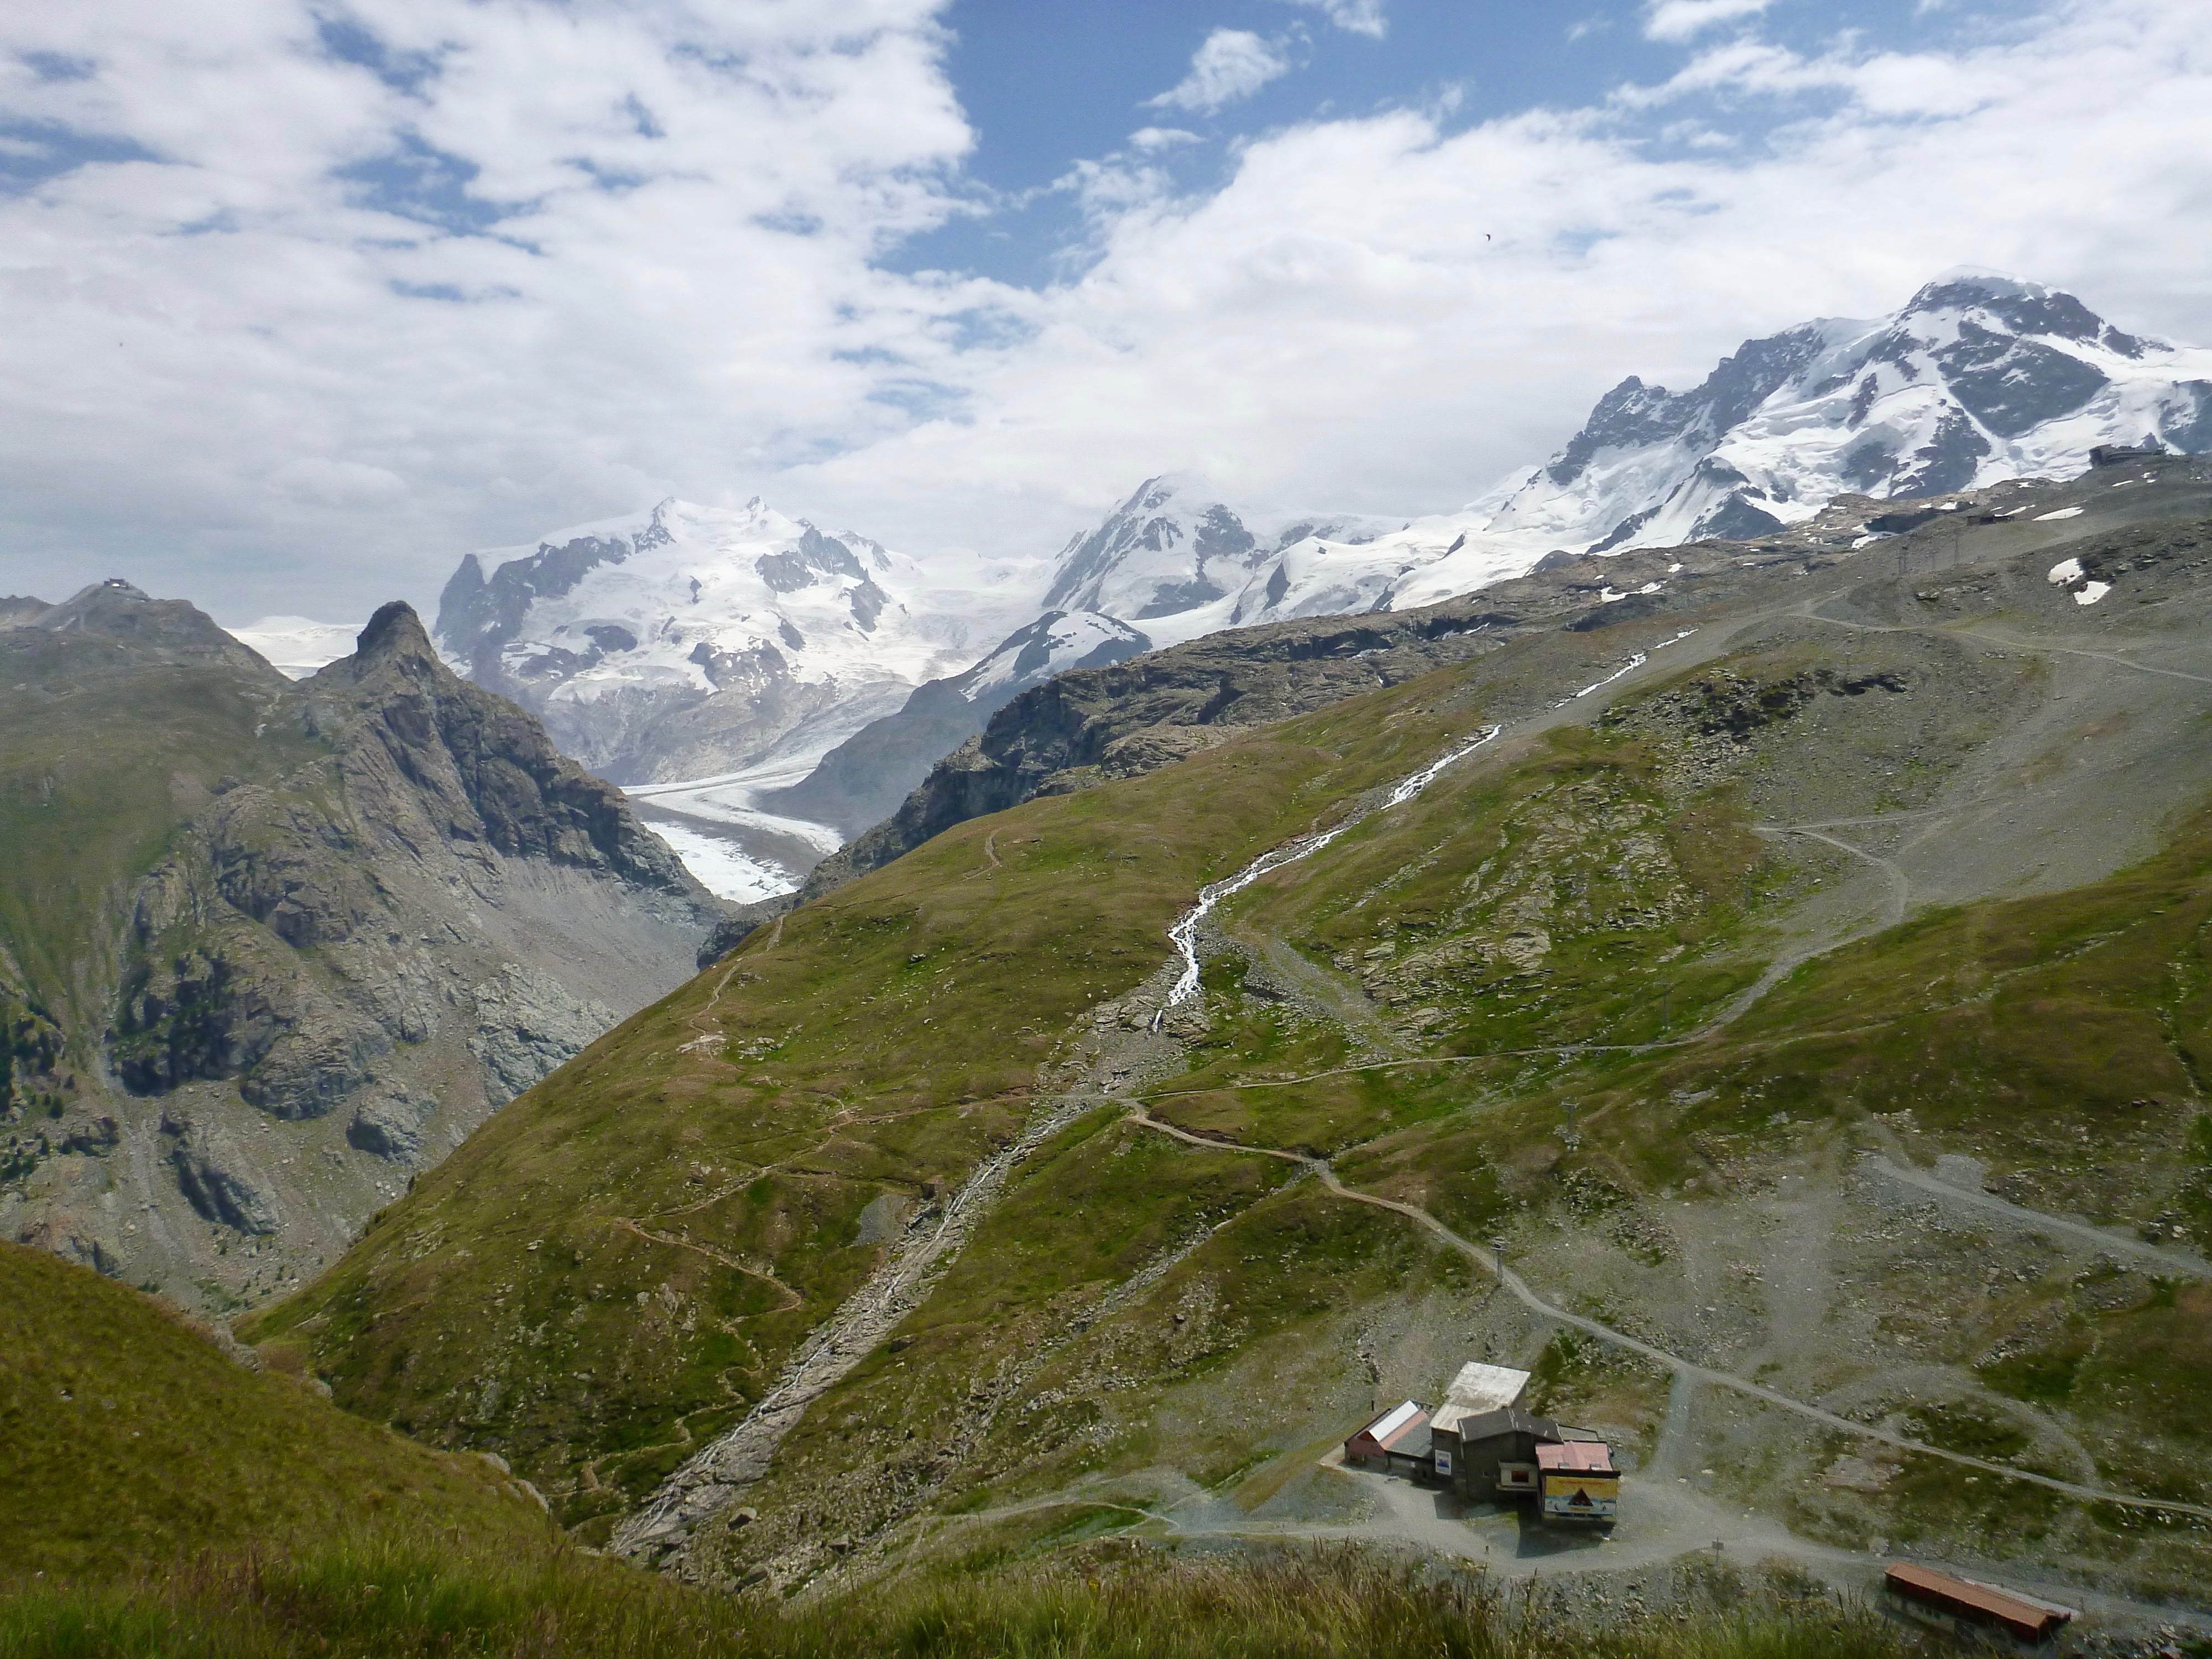

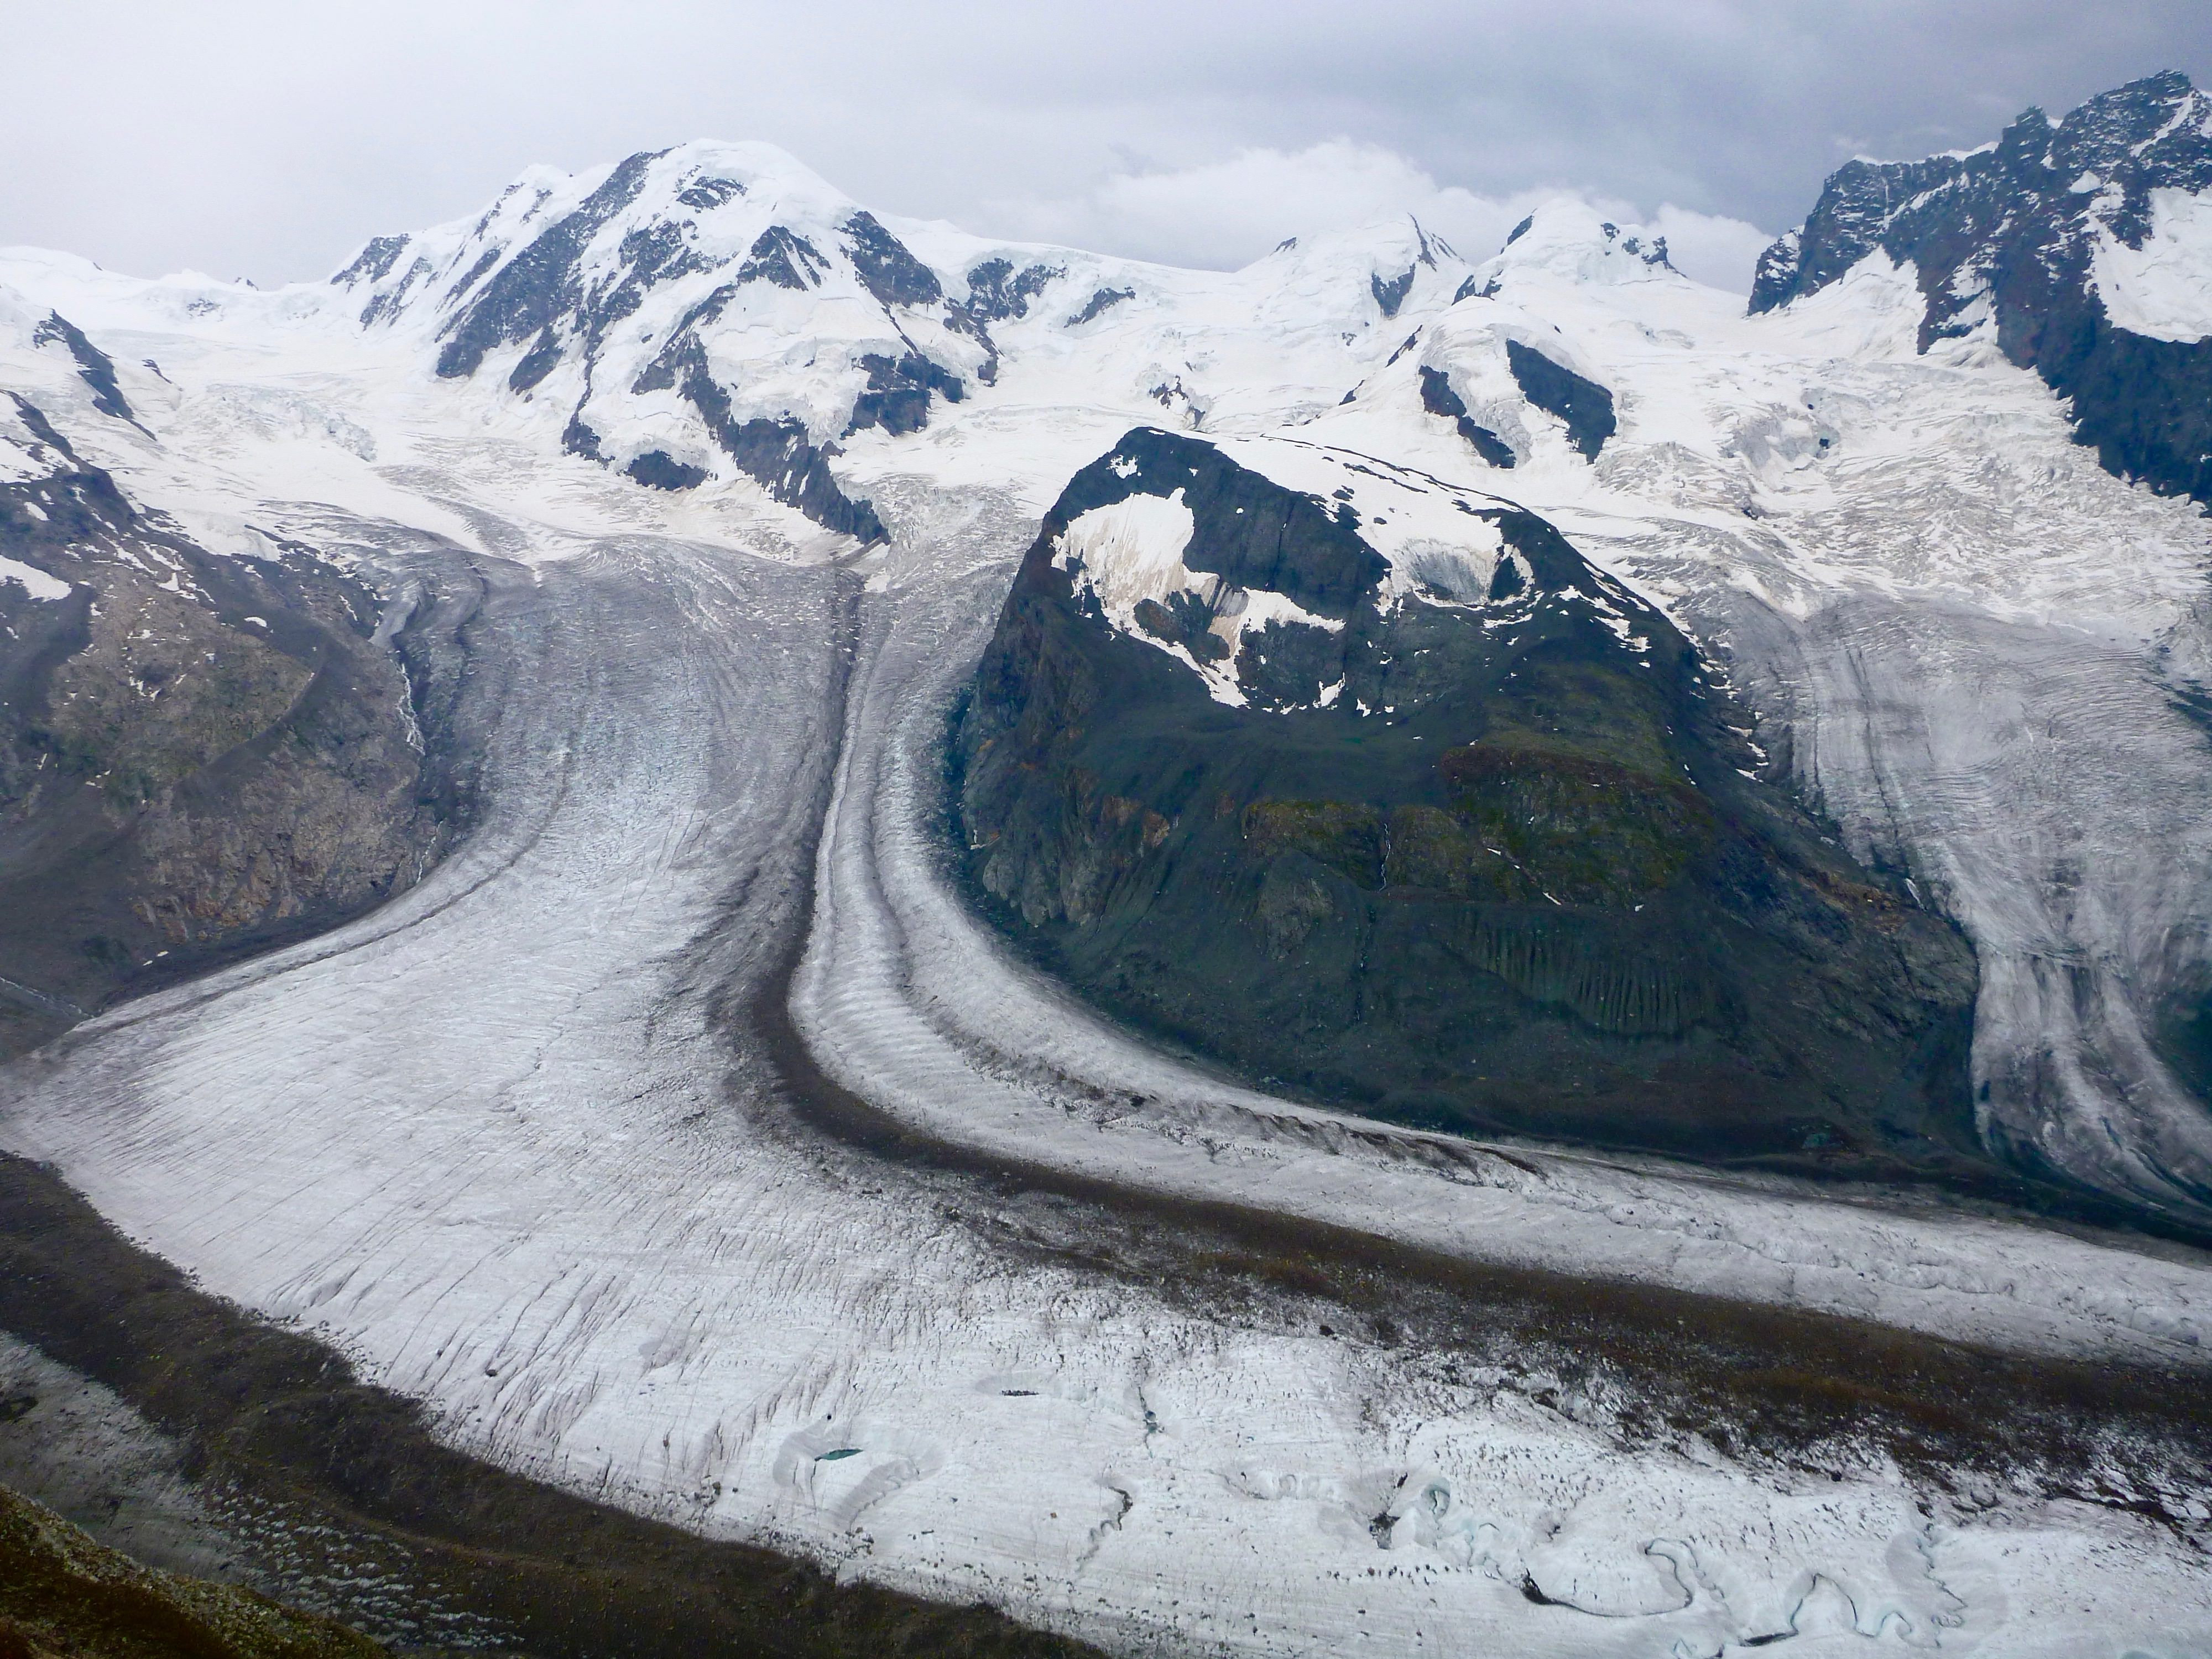
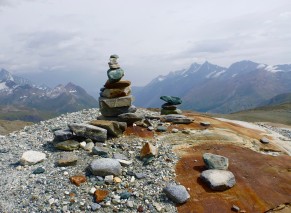
 The view of the glacier to our left was also quite stunning. After a quick pit stop at the Riffelhaus, we proceeded on the Mark Twain Weg. Down towards Riffelalp Resort the weather started getting a bit stormy, so we stopped at the hotel for a Weiss beer before catching the Gornergrat at the nearby train stop back down to town.


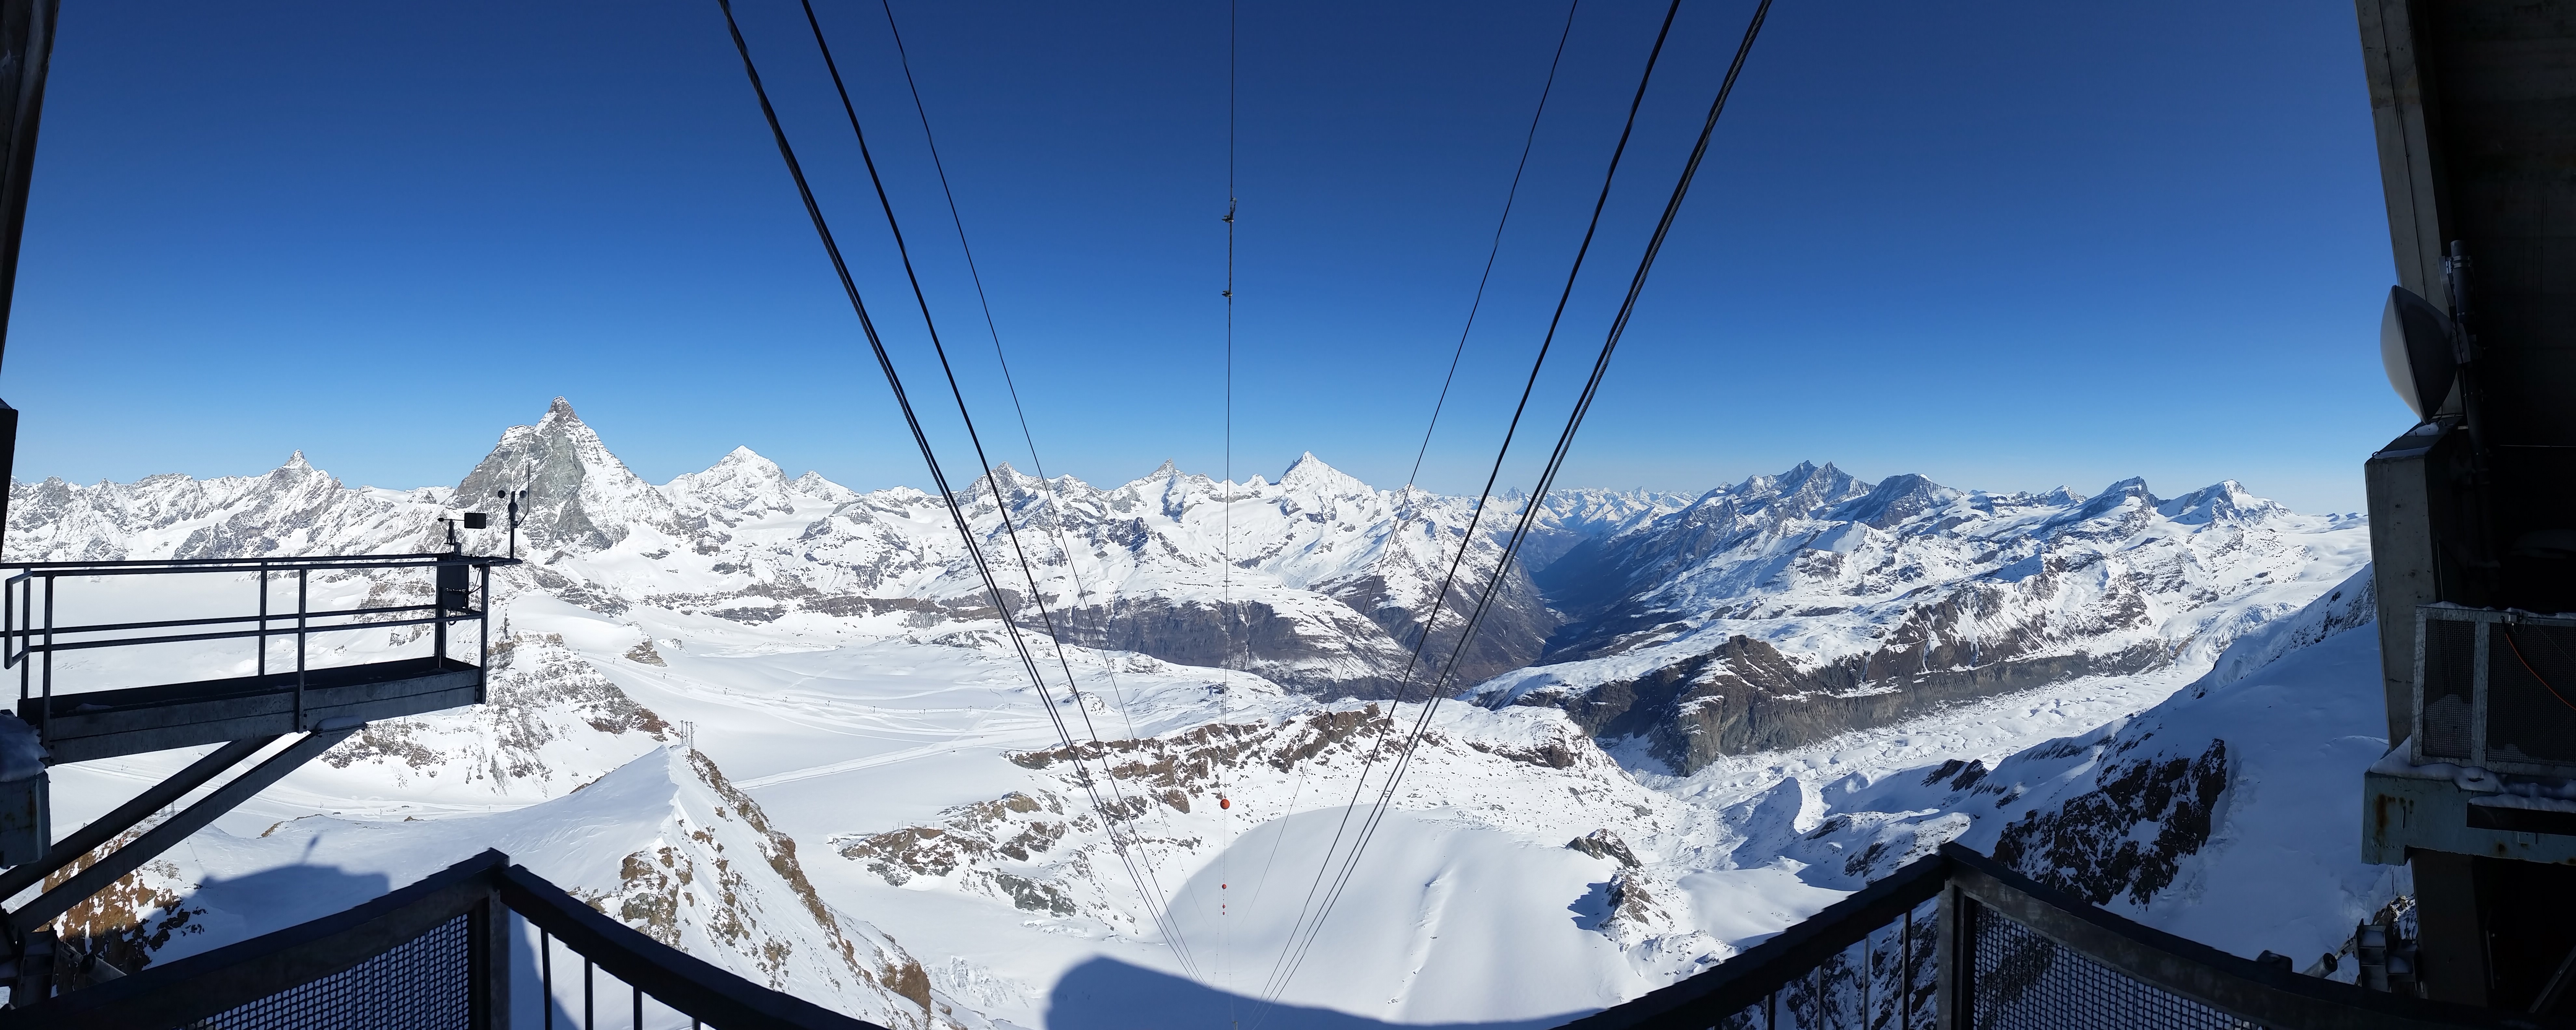
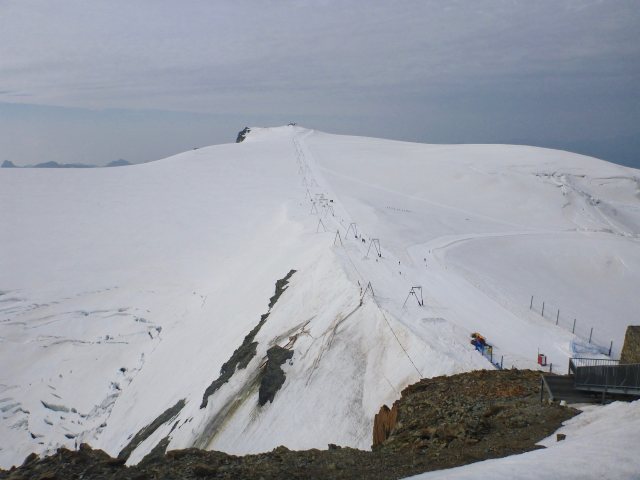
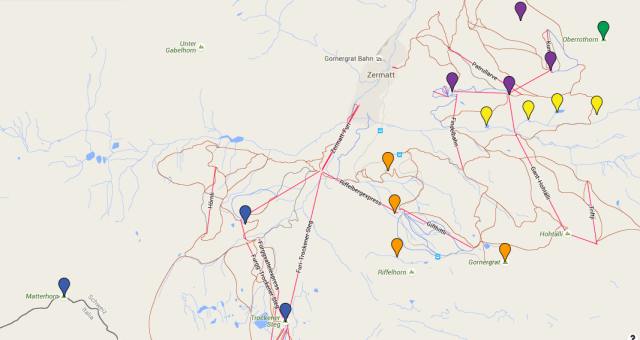
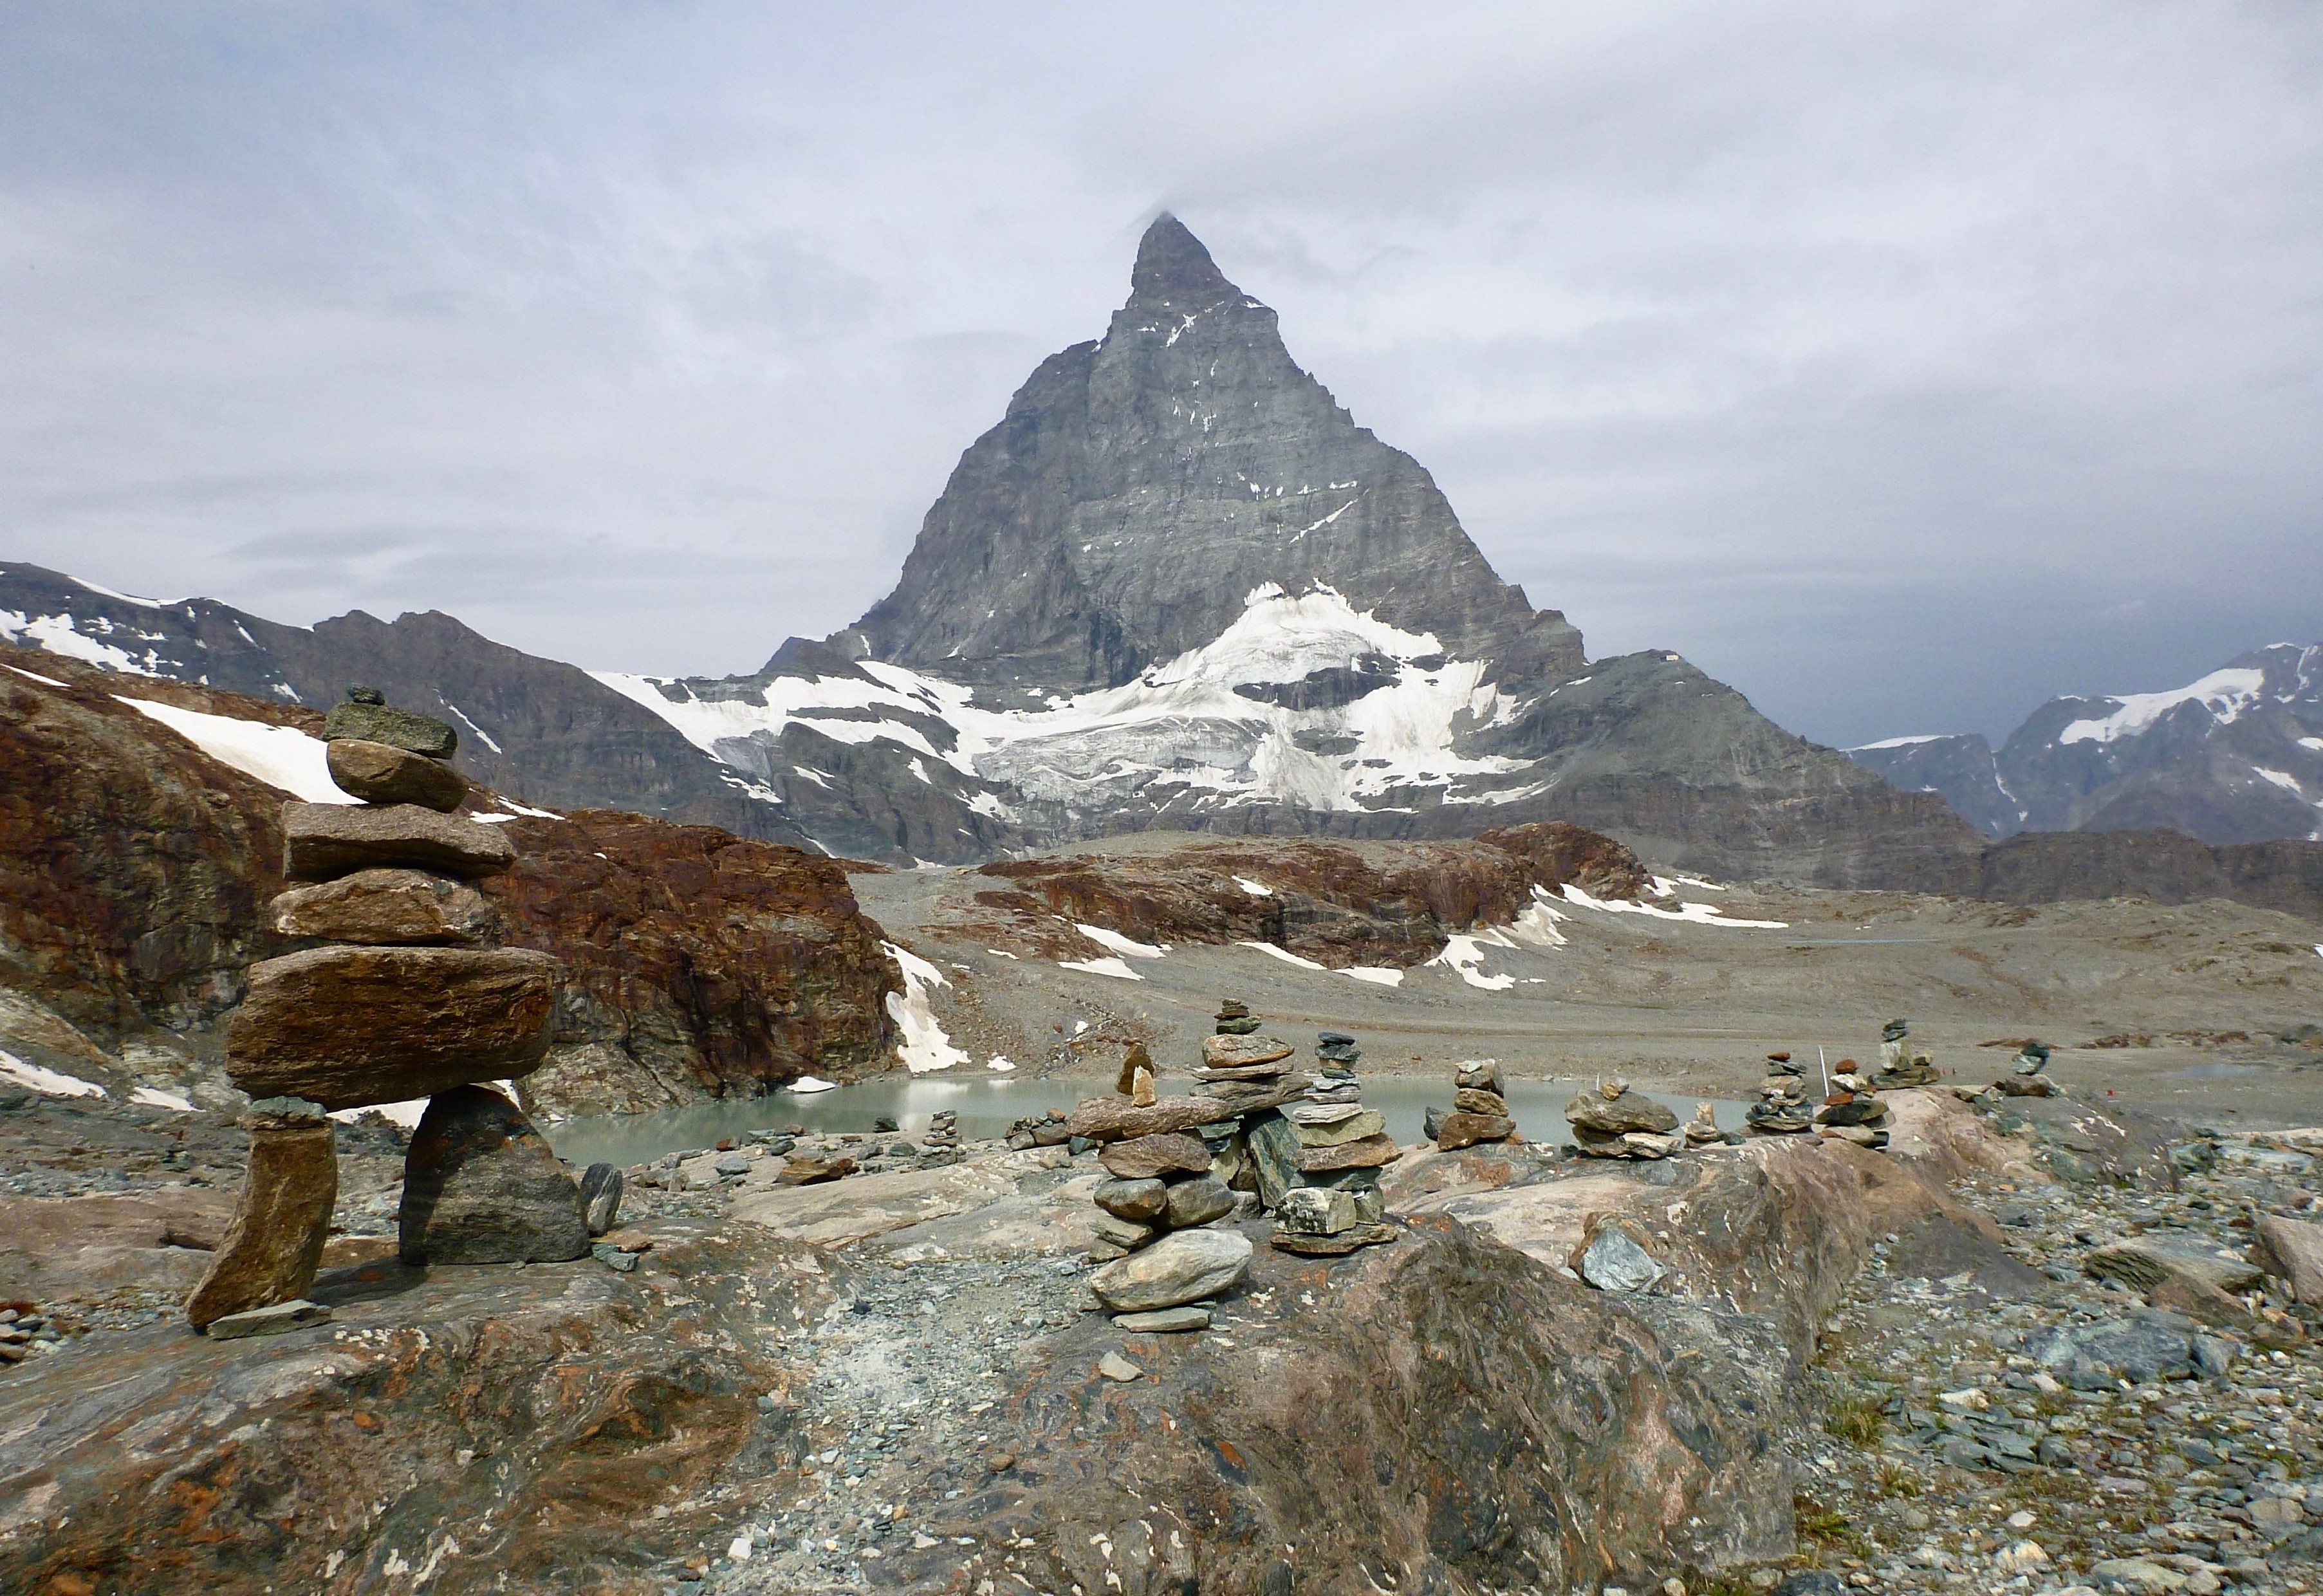
 2. Matterhorn Glacier Trail: The next day was our “big” hike. We bought return tickets up the western side of the resort to Klein Matterhorn, taking the gondola to Trockener Steg and switching to a tram lift that will give sweaty palms to anyone with a fear of heights. At the top, there was a tunnel through the rock to the other side of the mountain where the ski trails start. Even in summer, there is skiing on the glacier!


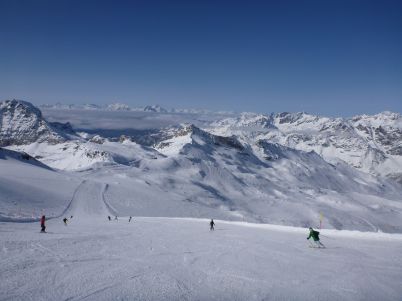


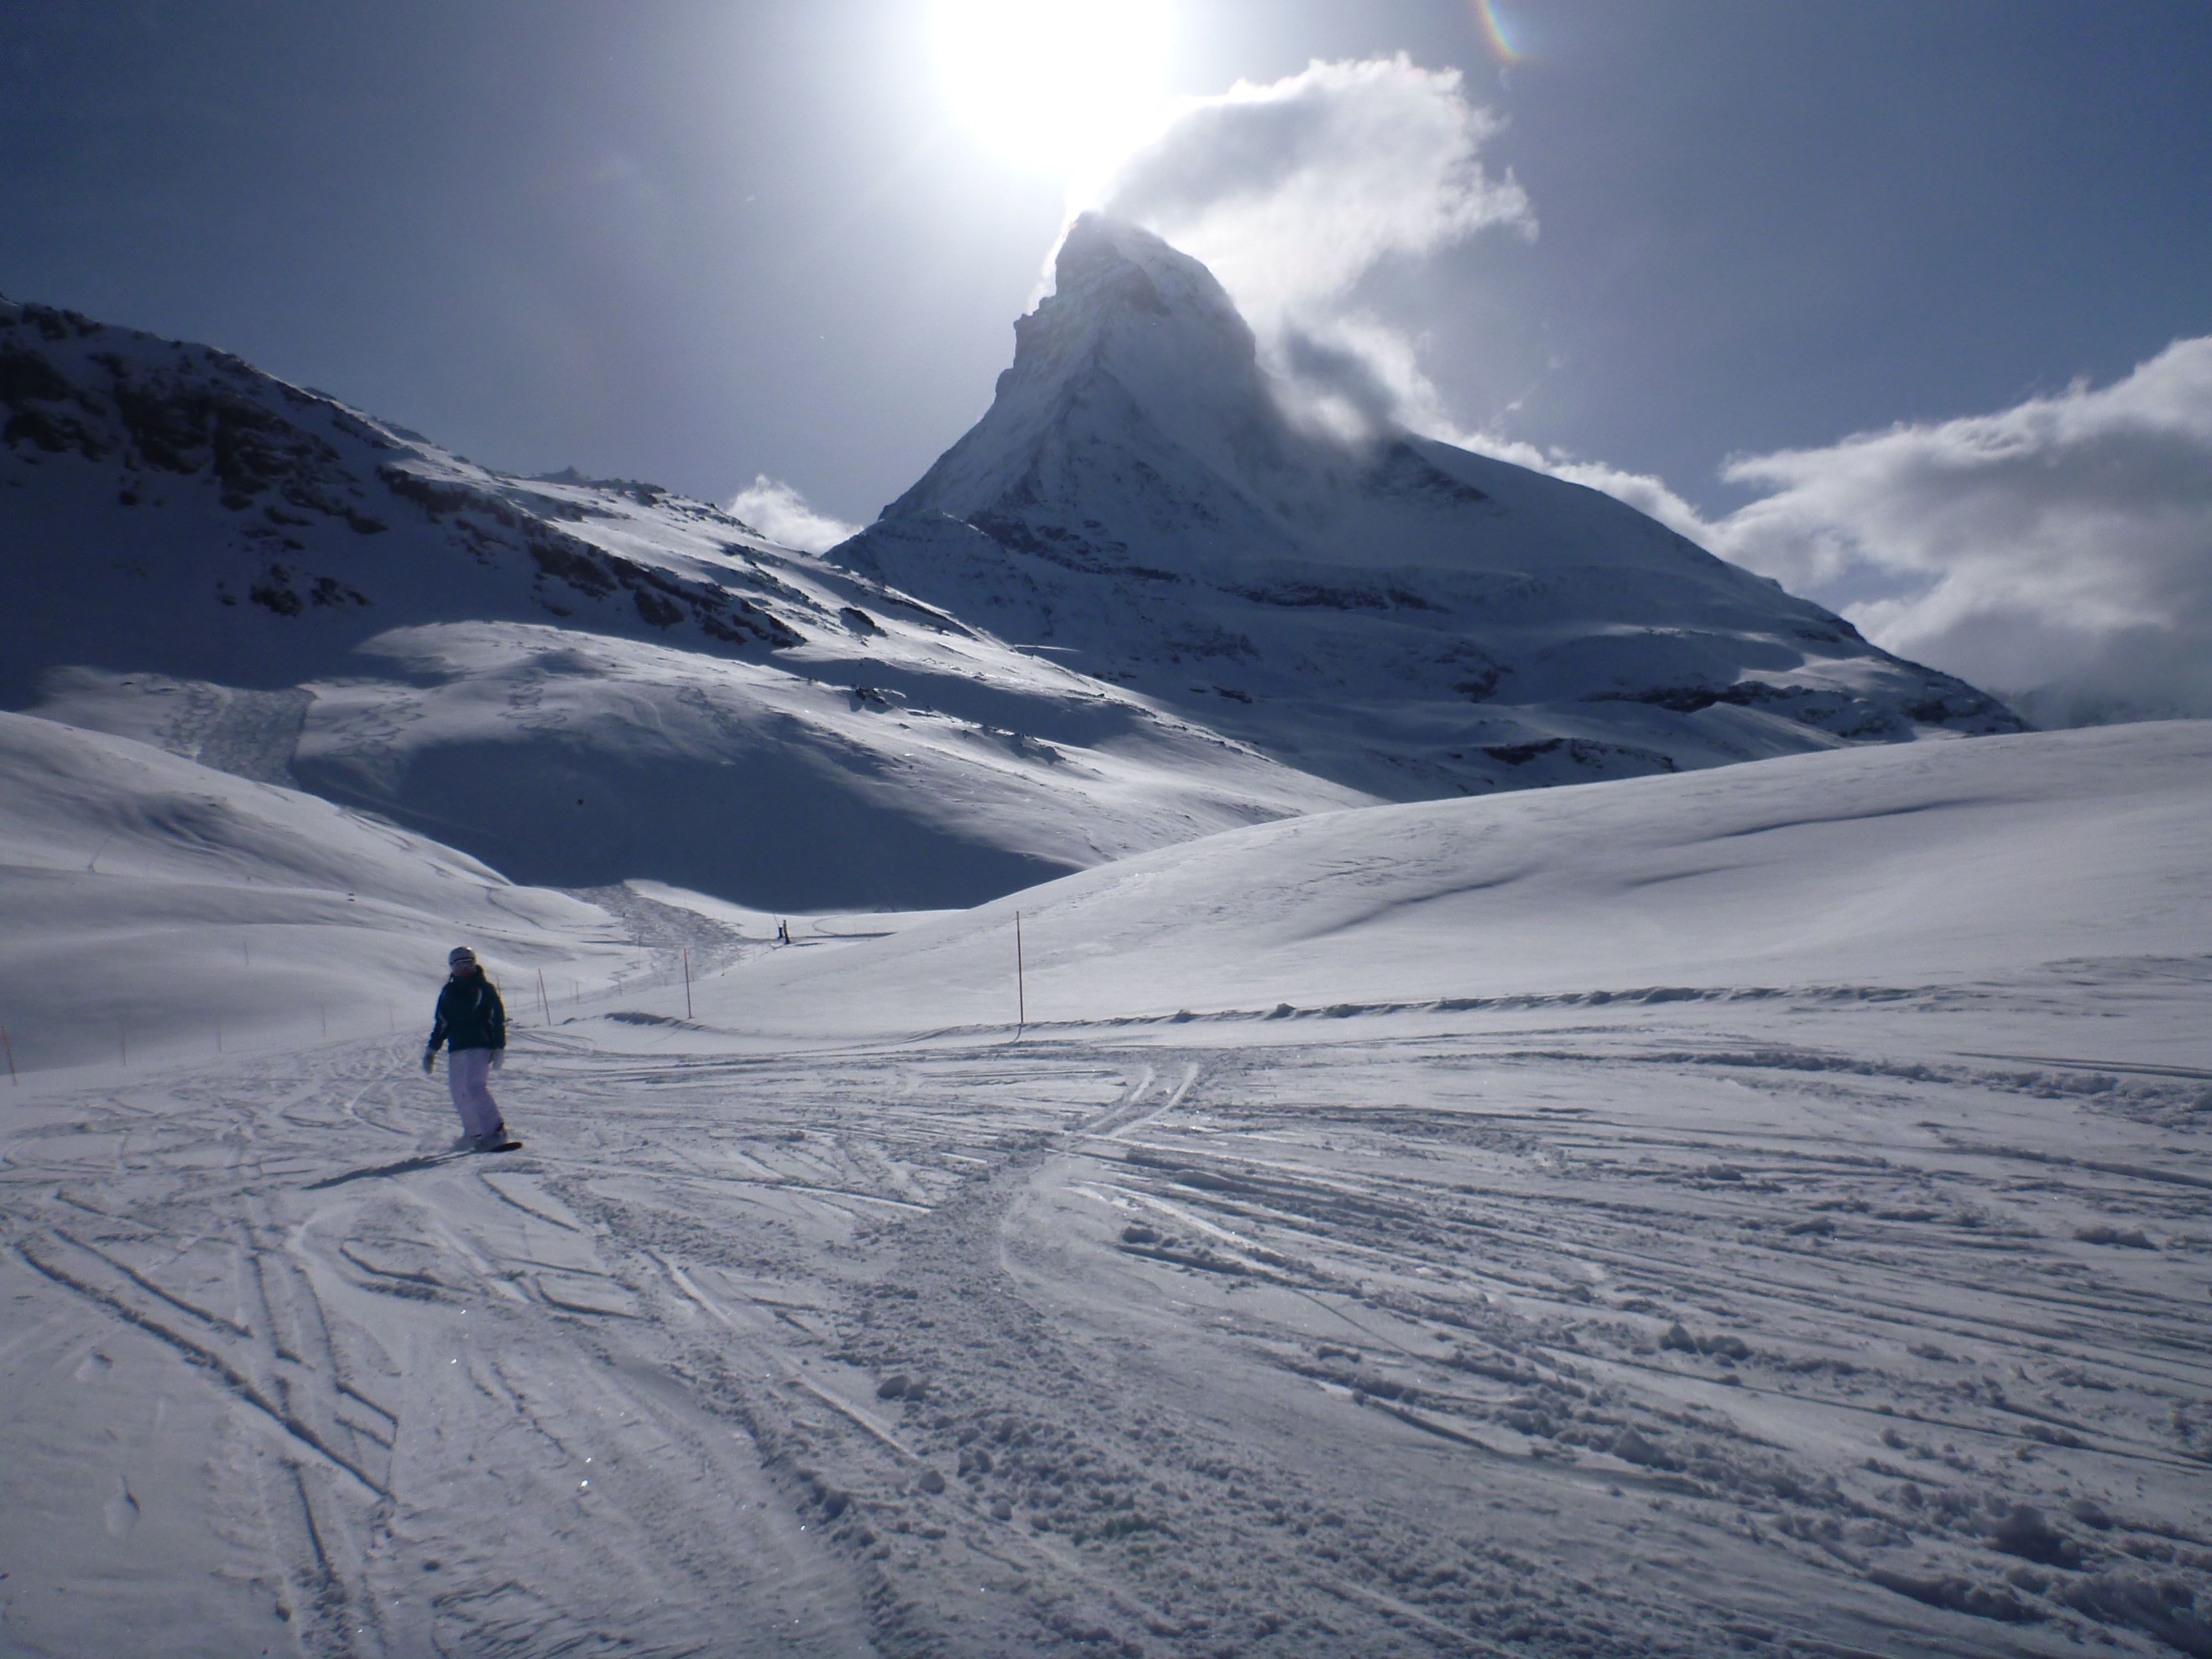
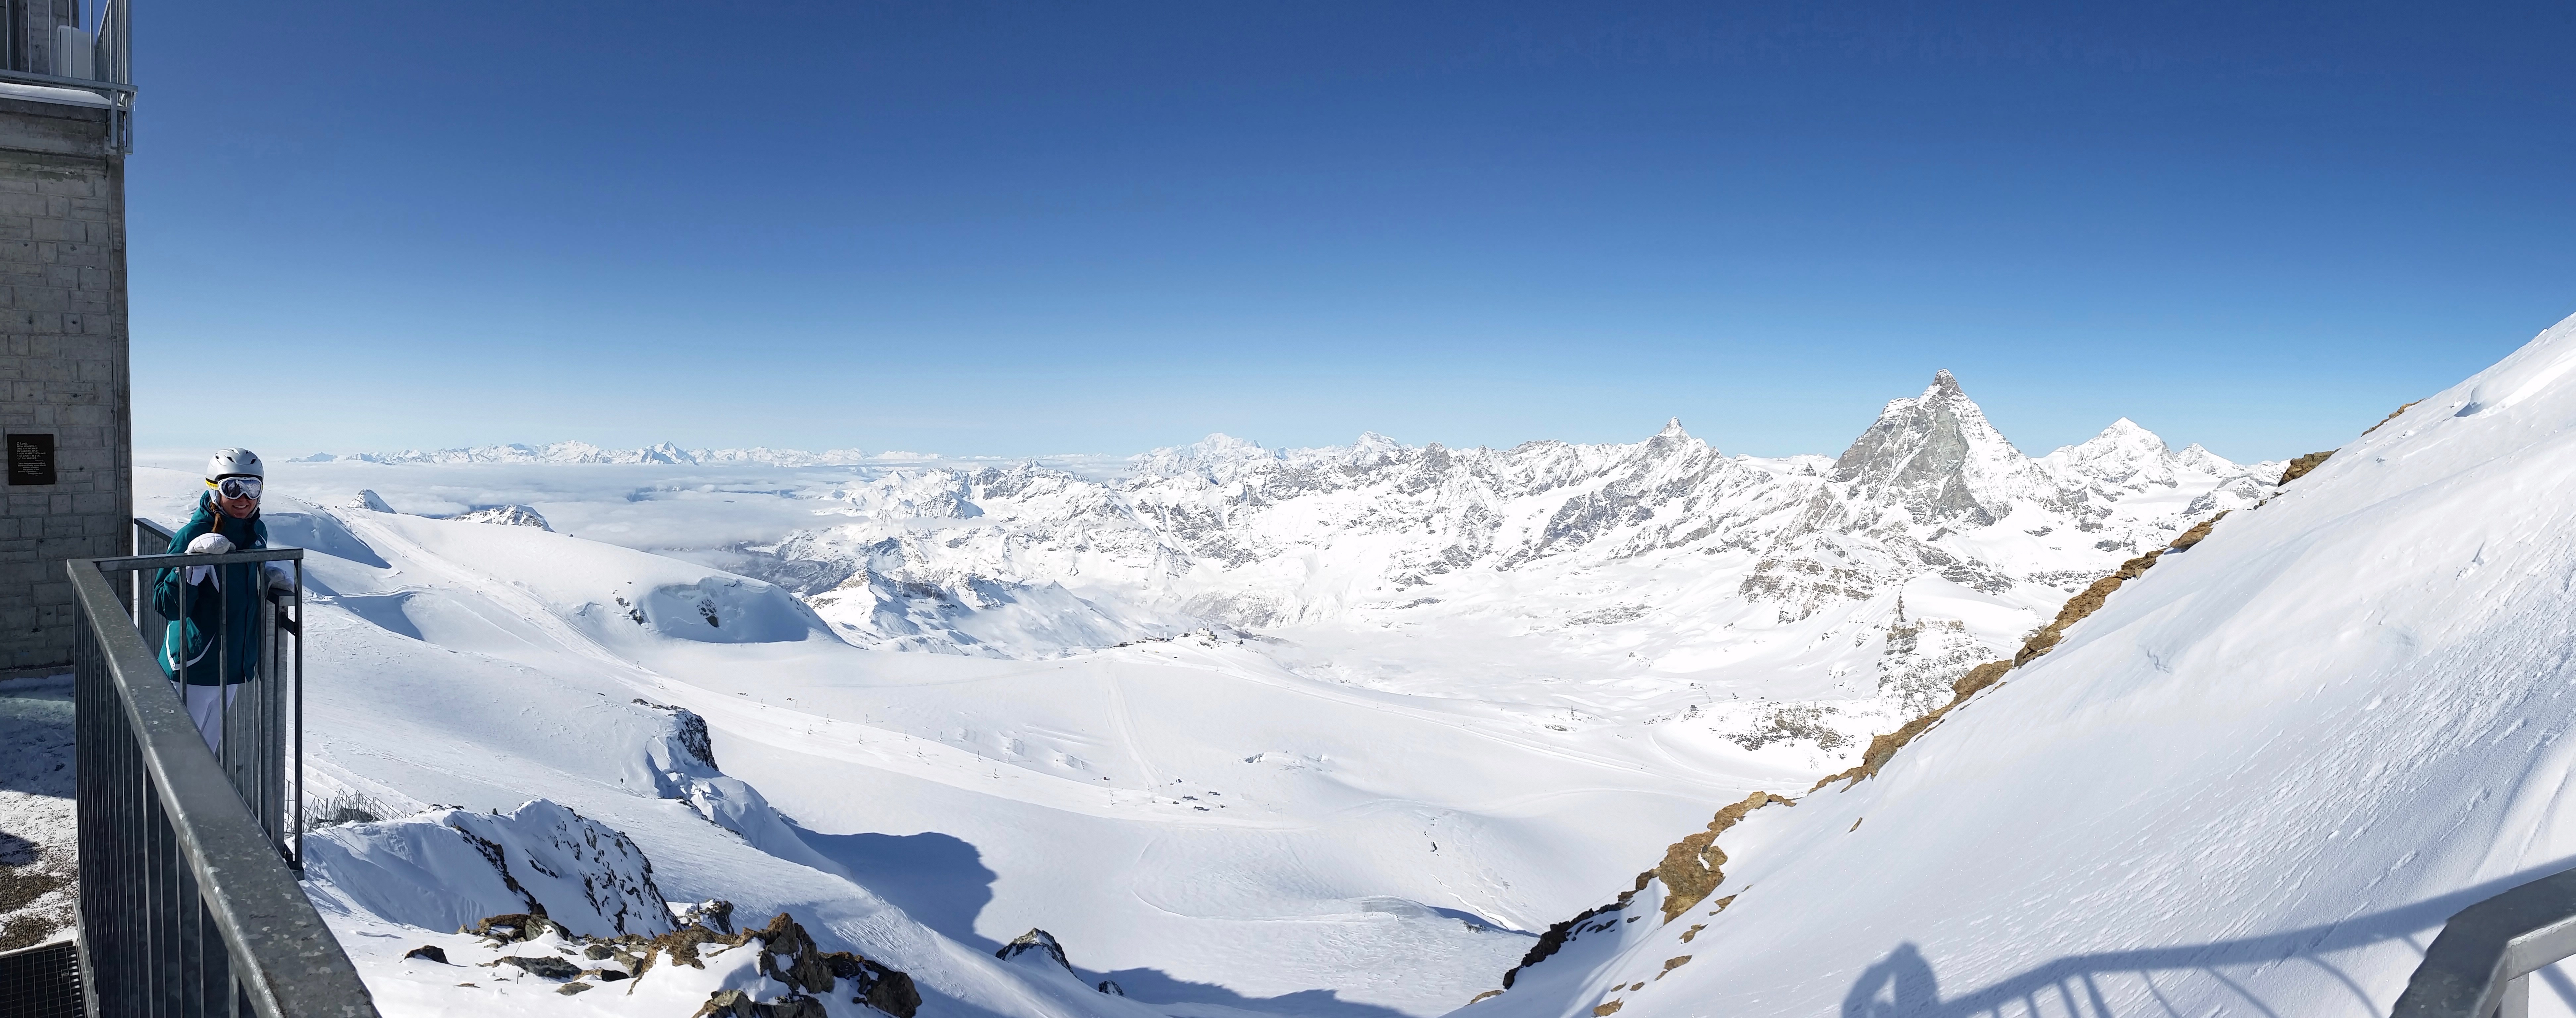
 spent the morning on the same (Eastern) side as the day before though in a slightly different area. In the afternoon the weather improved and we were treated to some incredibly clear and stunning views as we headed towards the Swiss-Italian border, taking the lifts to Schwarzsee and all the way to the Trockener Steg, which took approximately 45 minutes or so to arrive at the top. The views from this side were amazing looking back down towards the valley and town below, and it was exciting to be so close to the Matterhorn itself.


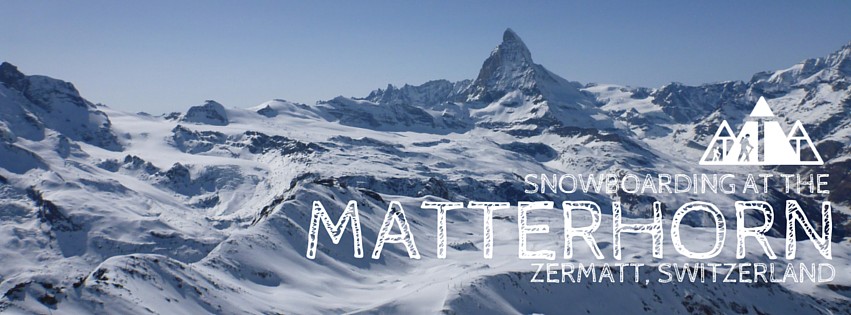
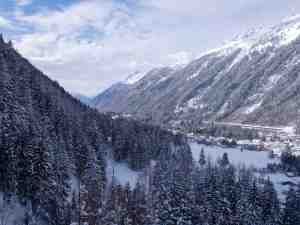
 huge fan of winter – I hate being cold and stuck inside, and with short days and limited outdoor activities available, it didn’t seem to me that the winter season had many redeeming factors. Having since picked up snowboarding, winter has taken on a new meaning and moved up a notch in my book! The highlight of our winter these days is usually a ski trip around Valentine’s day, and in past years we spent this time in


 The next day we hopped the shuttle bus (which is free with a ski pass) to the
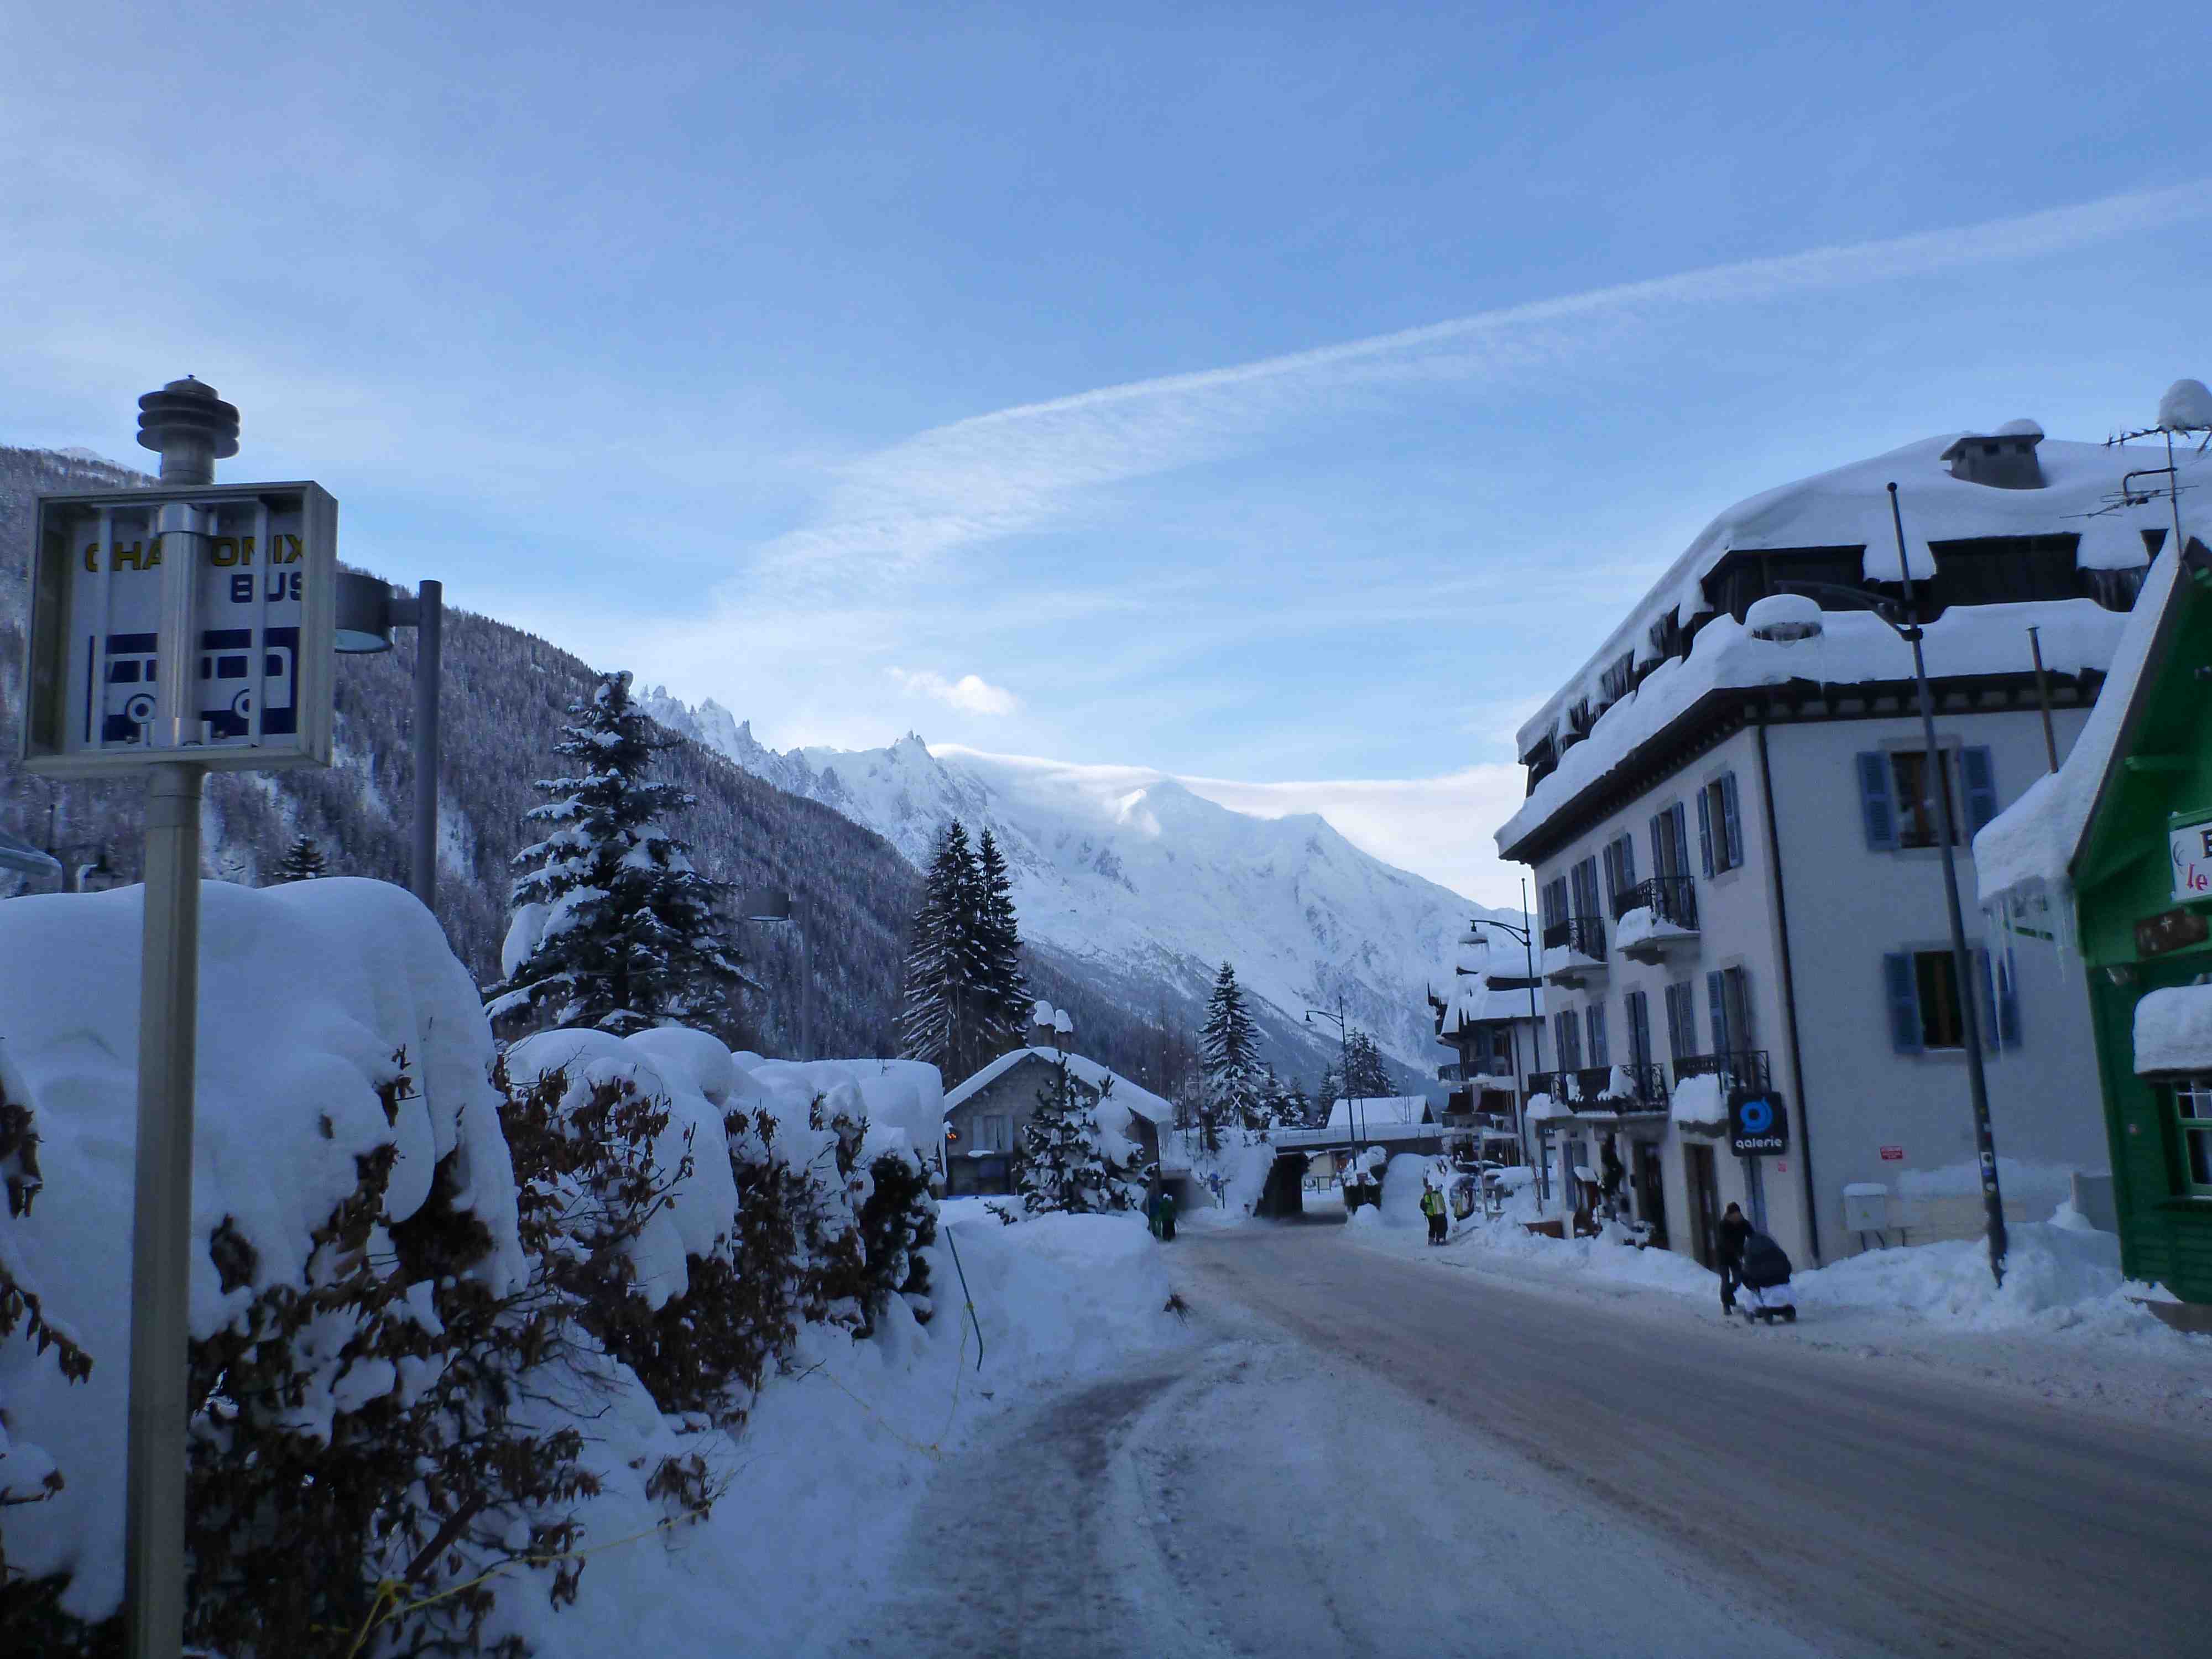


 y. The


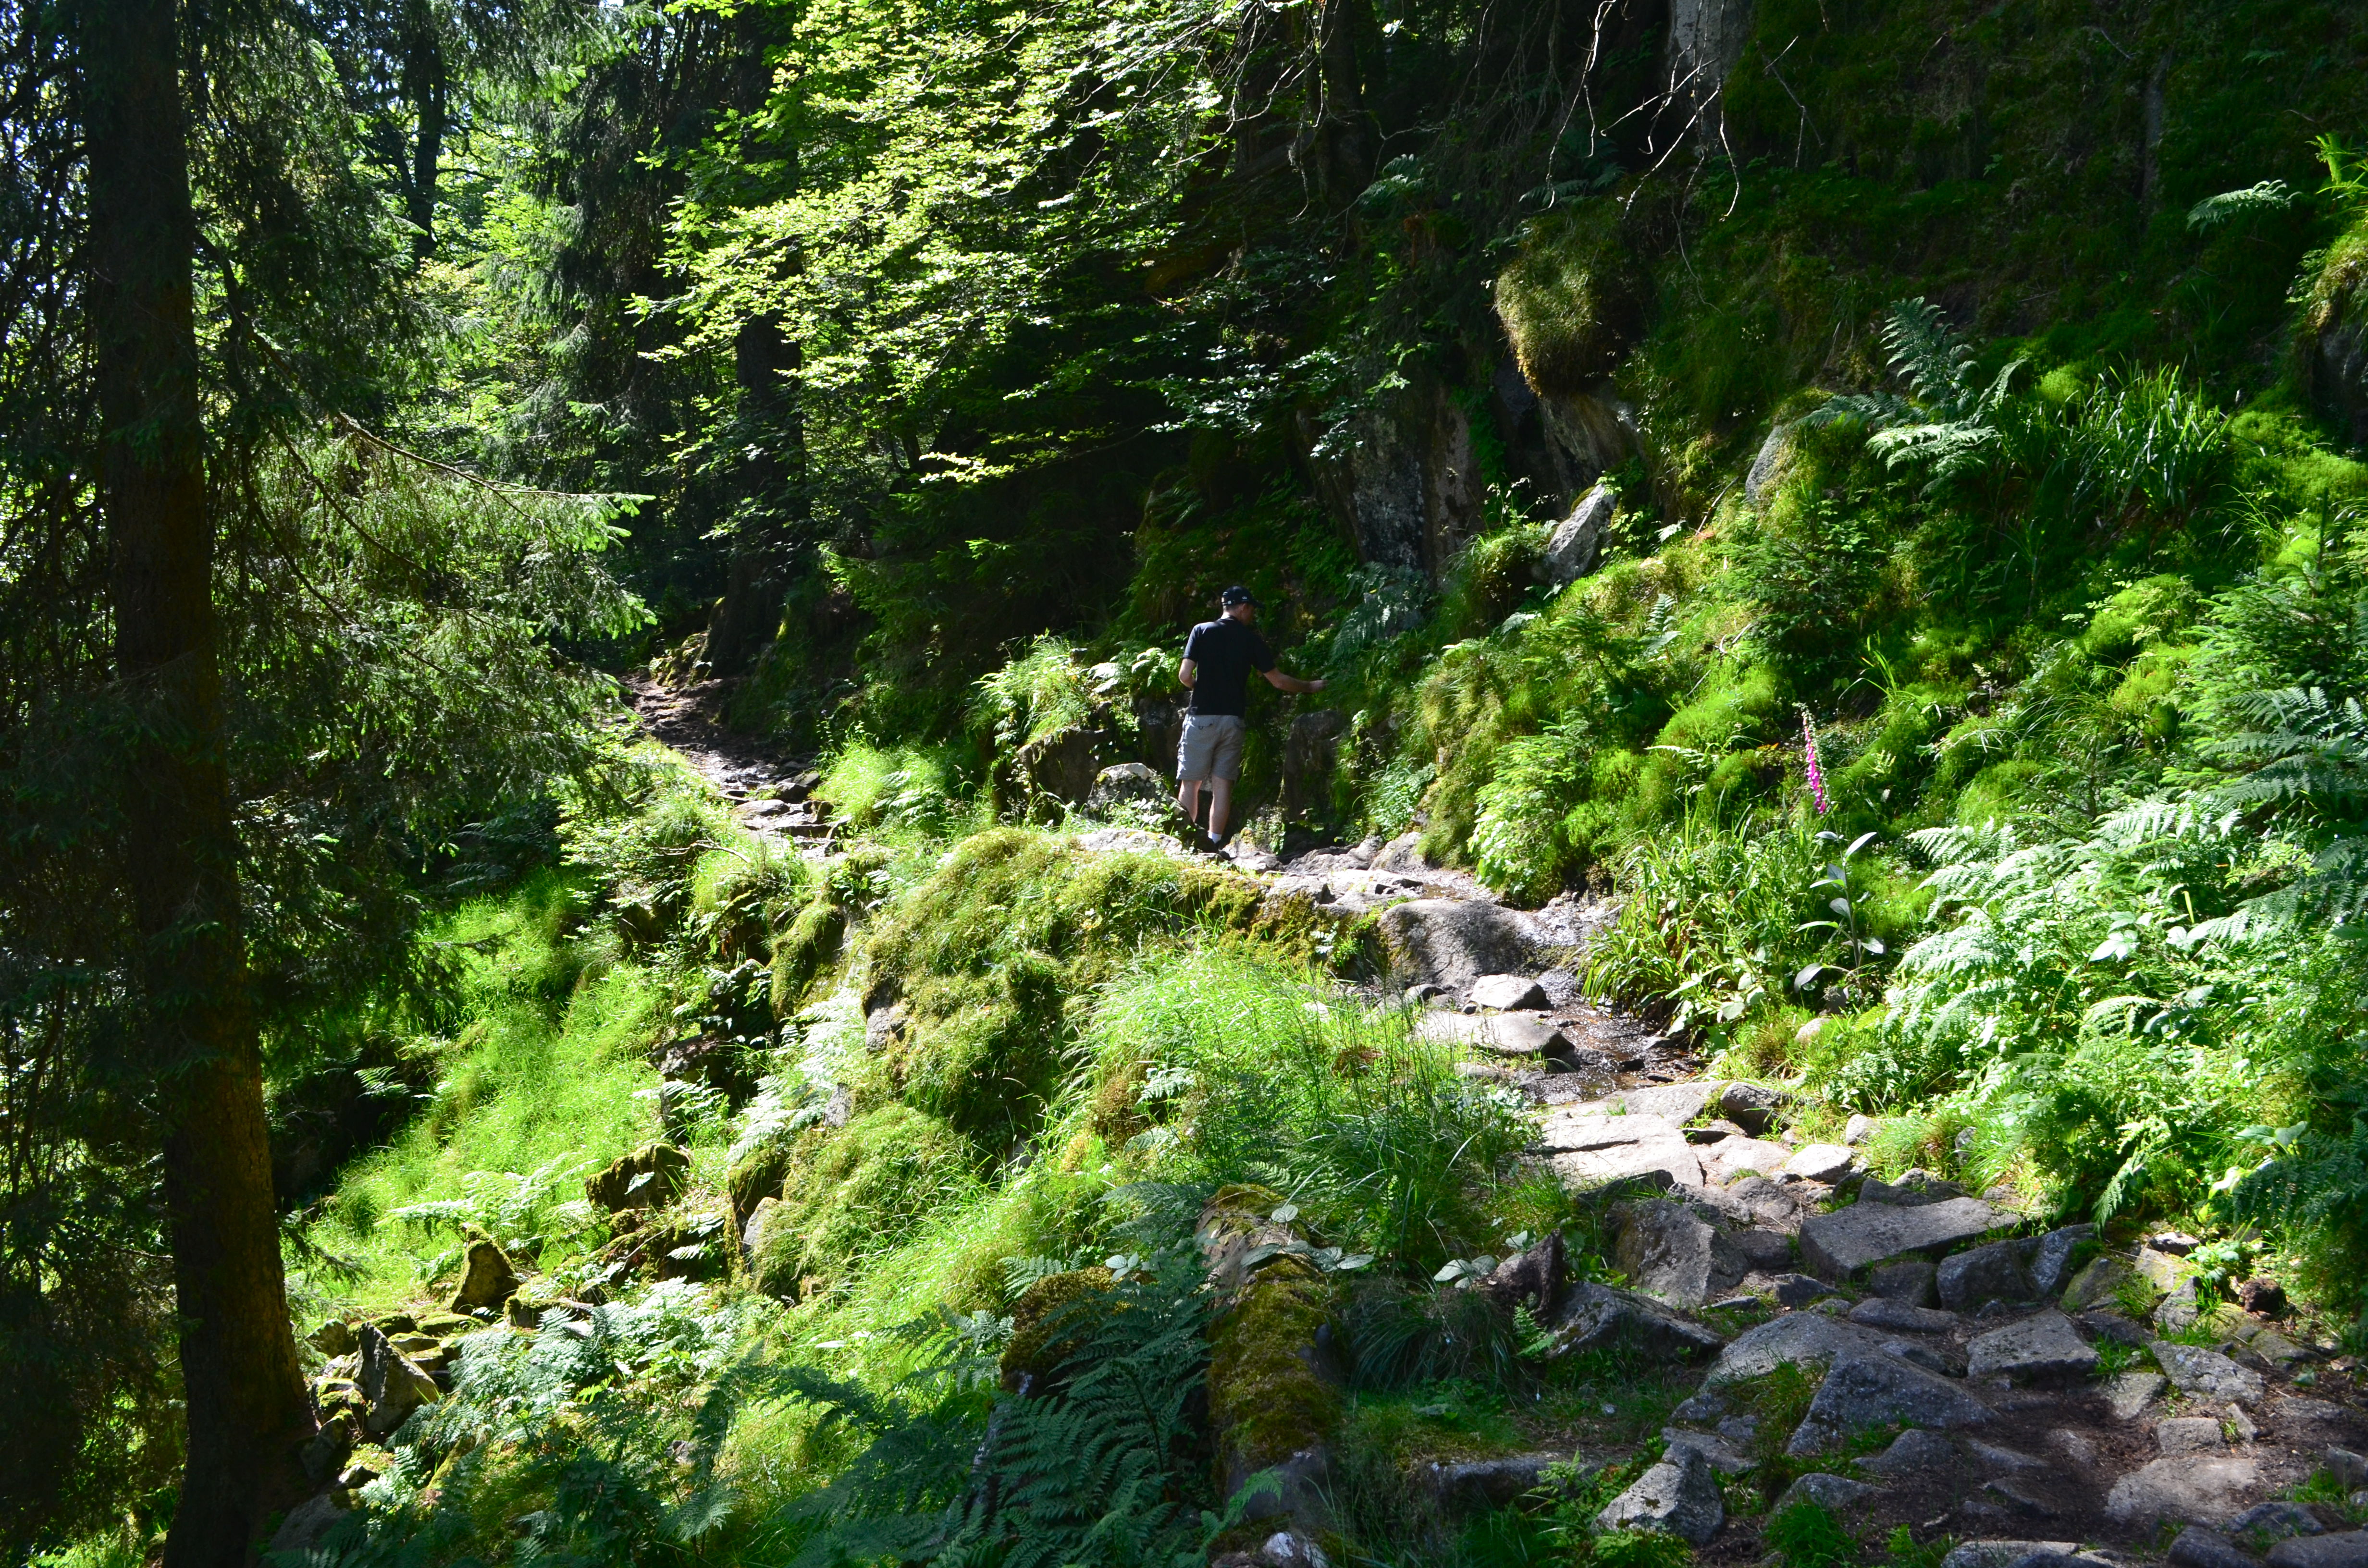
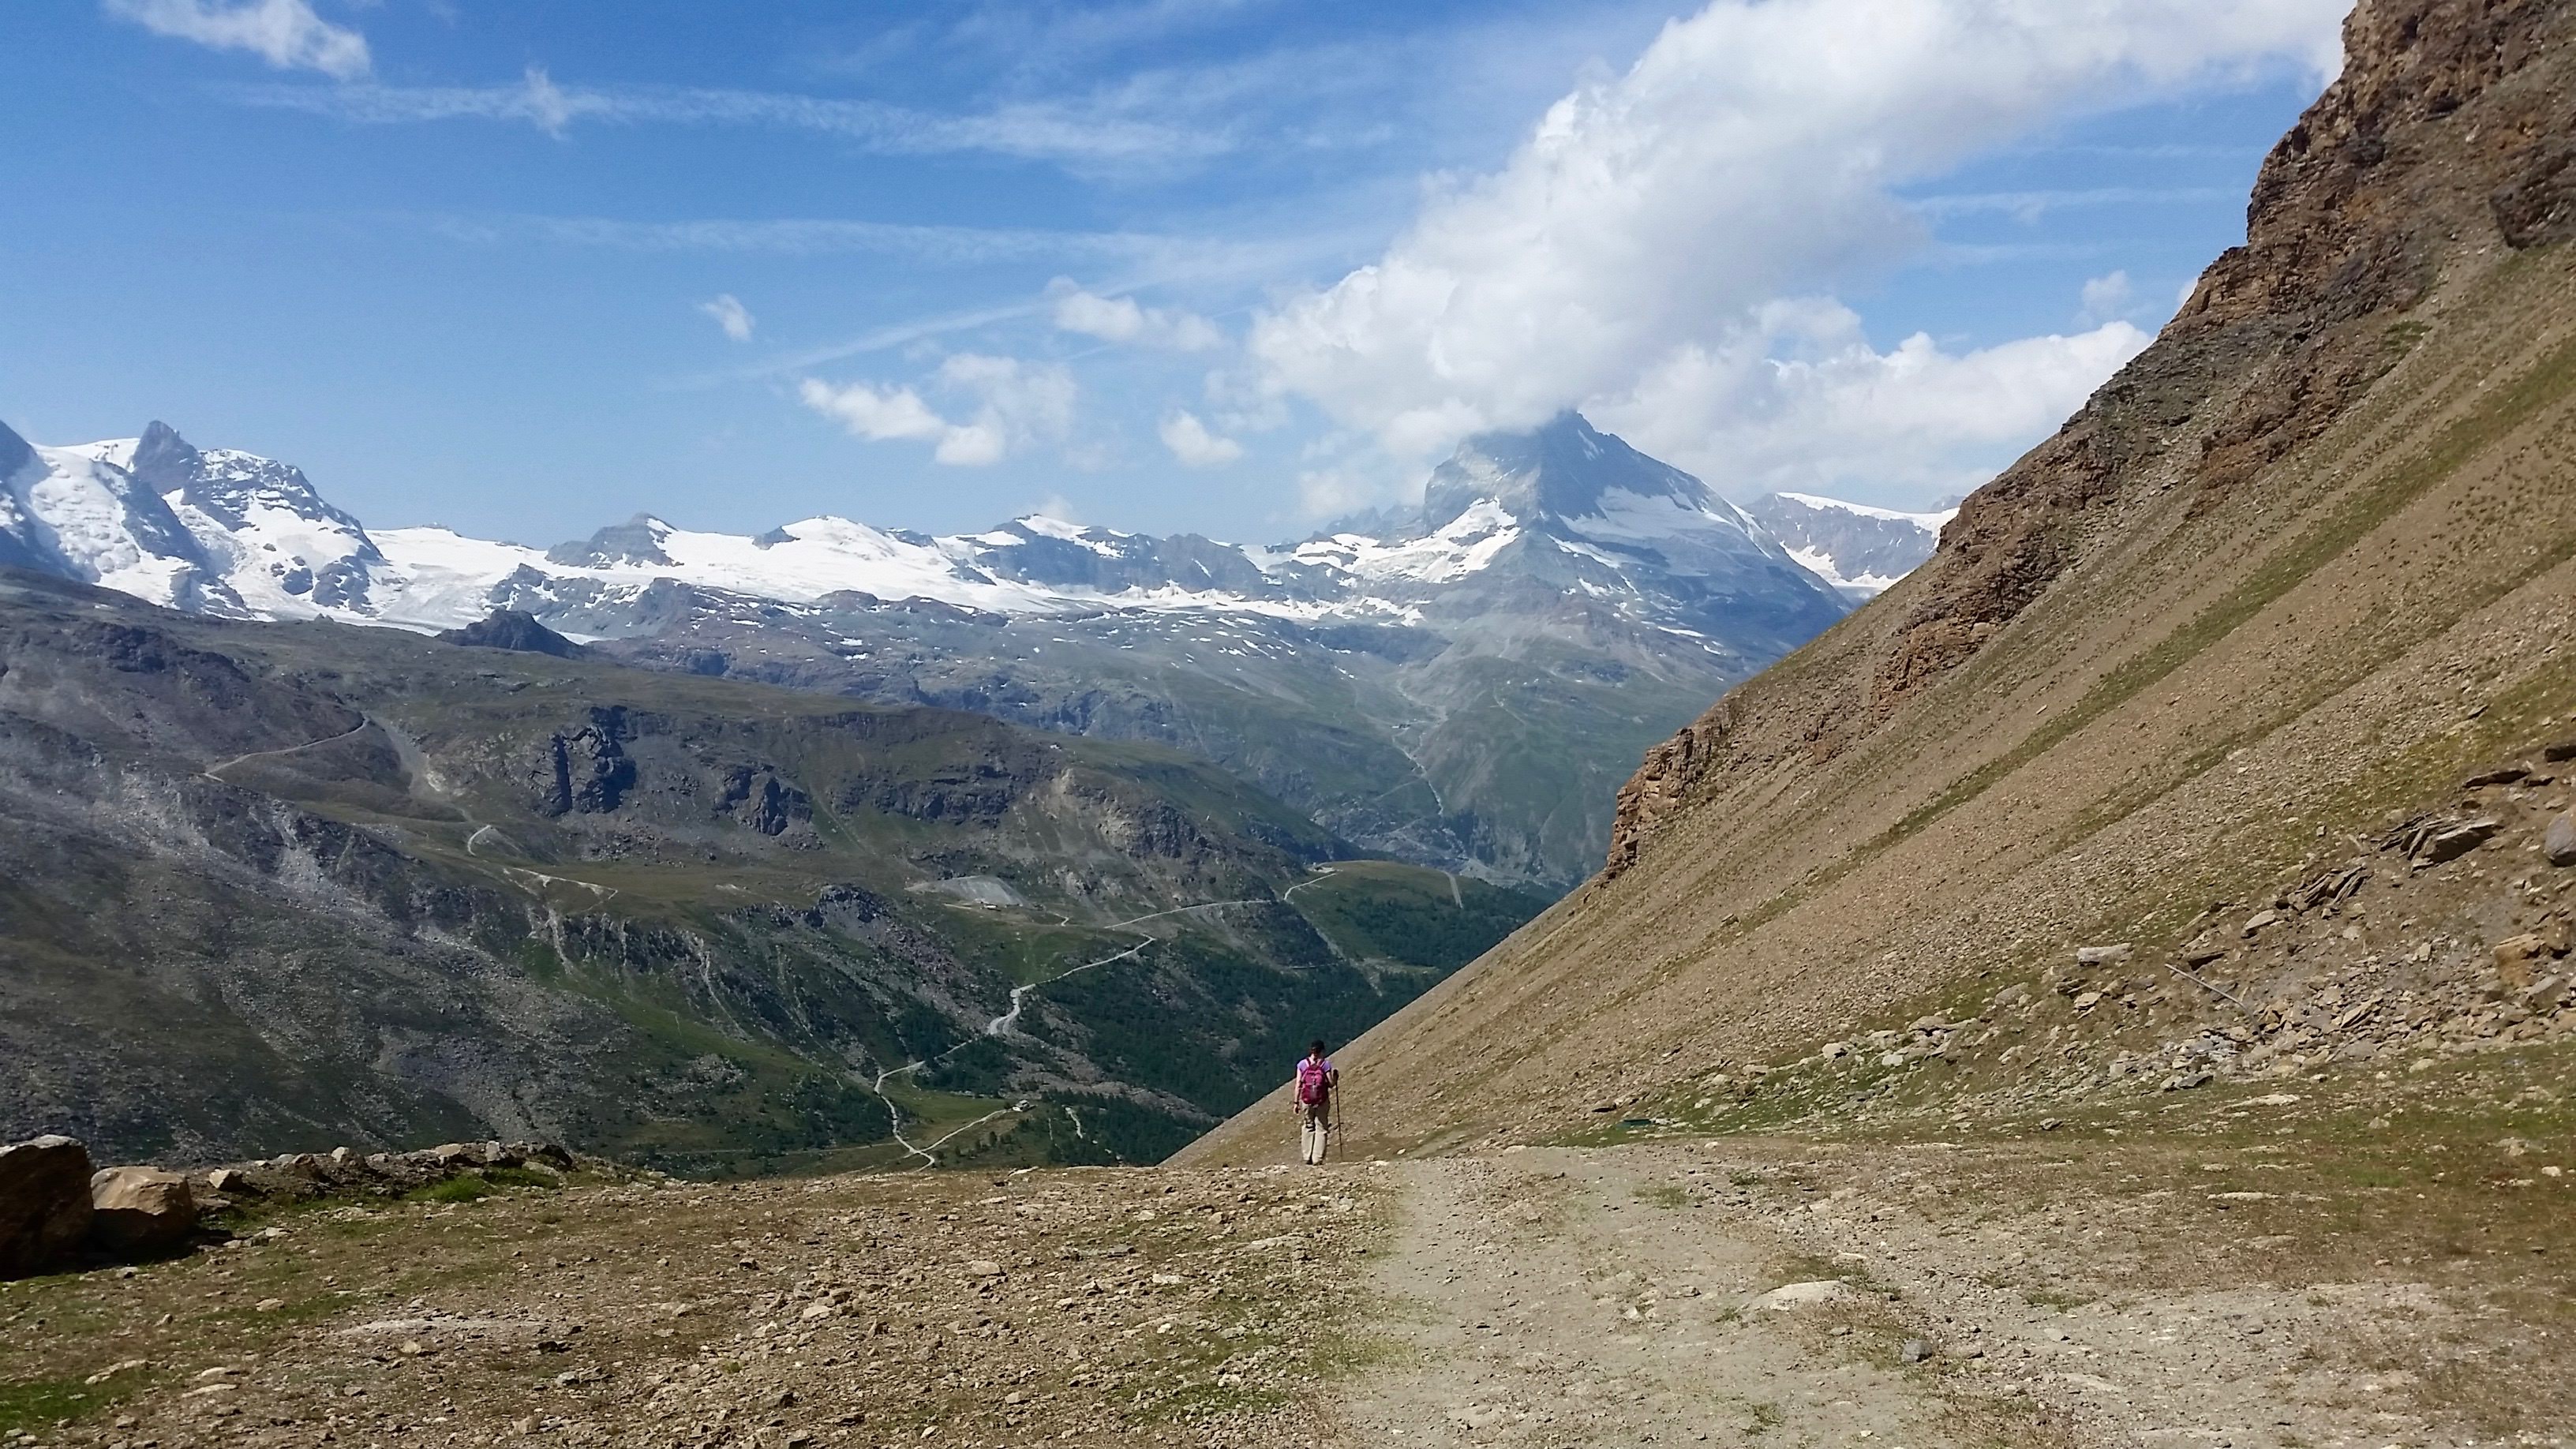
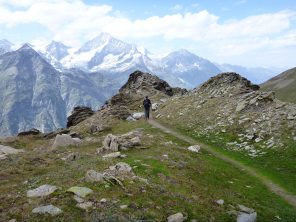
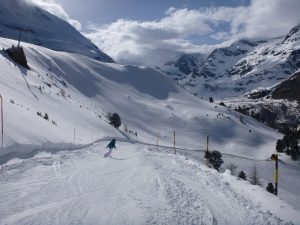
![Trail [see if you can find Tyler]](https://twotonedtravelers.files.wordpress.com/2015/04/dsc_0223.jpg)
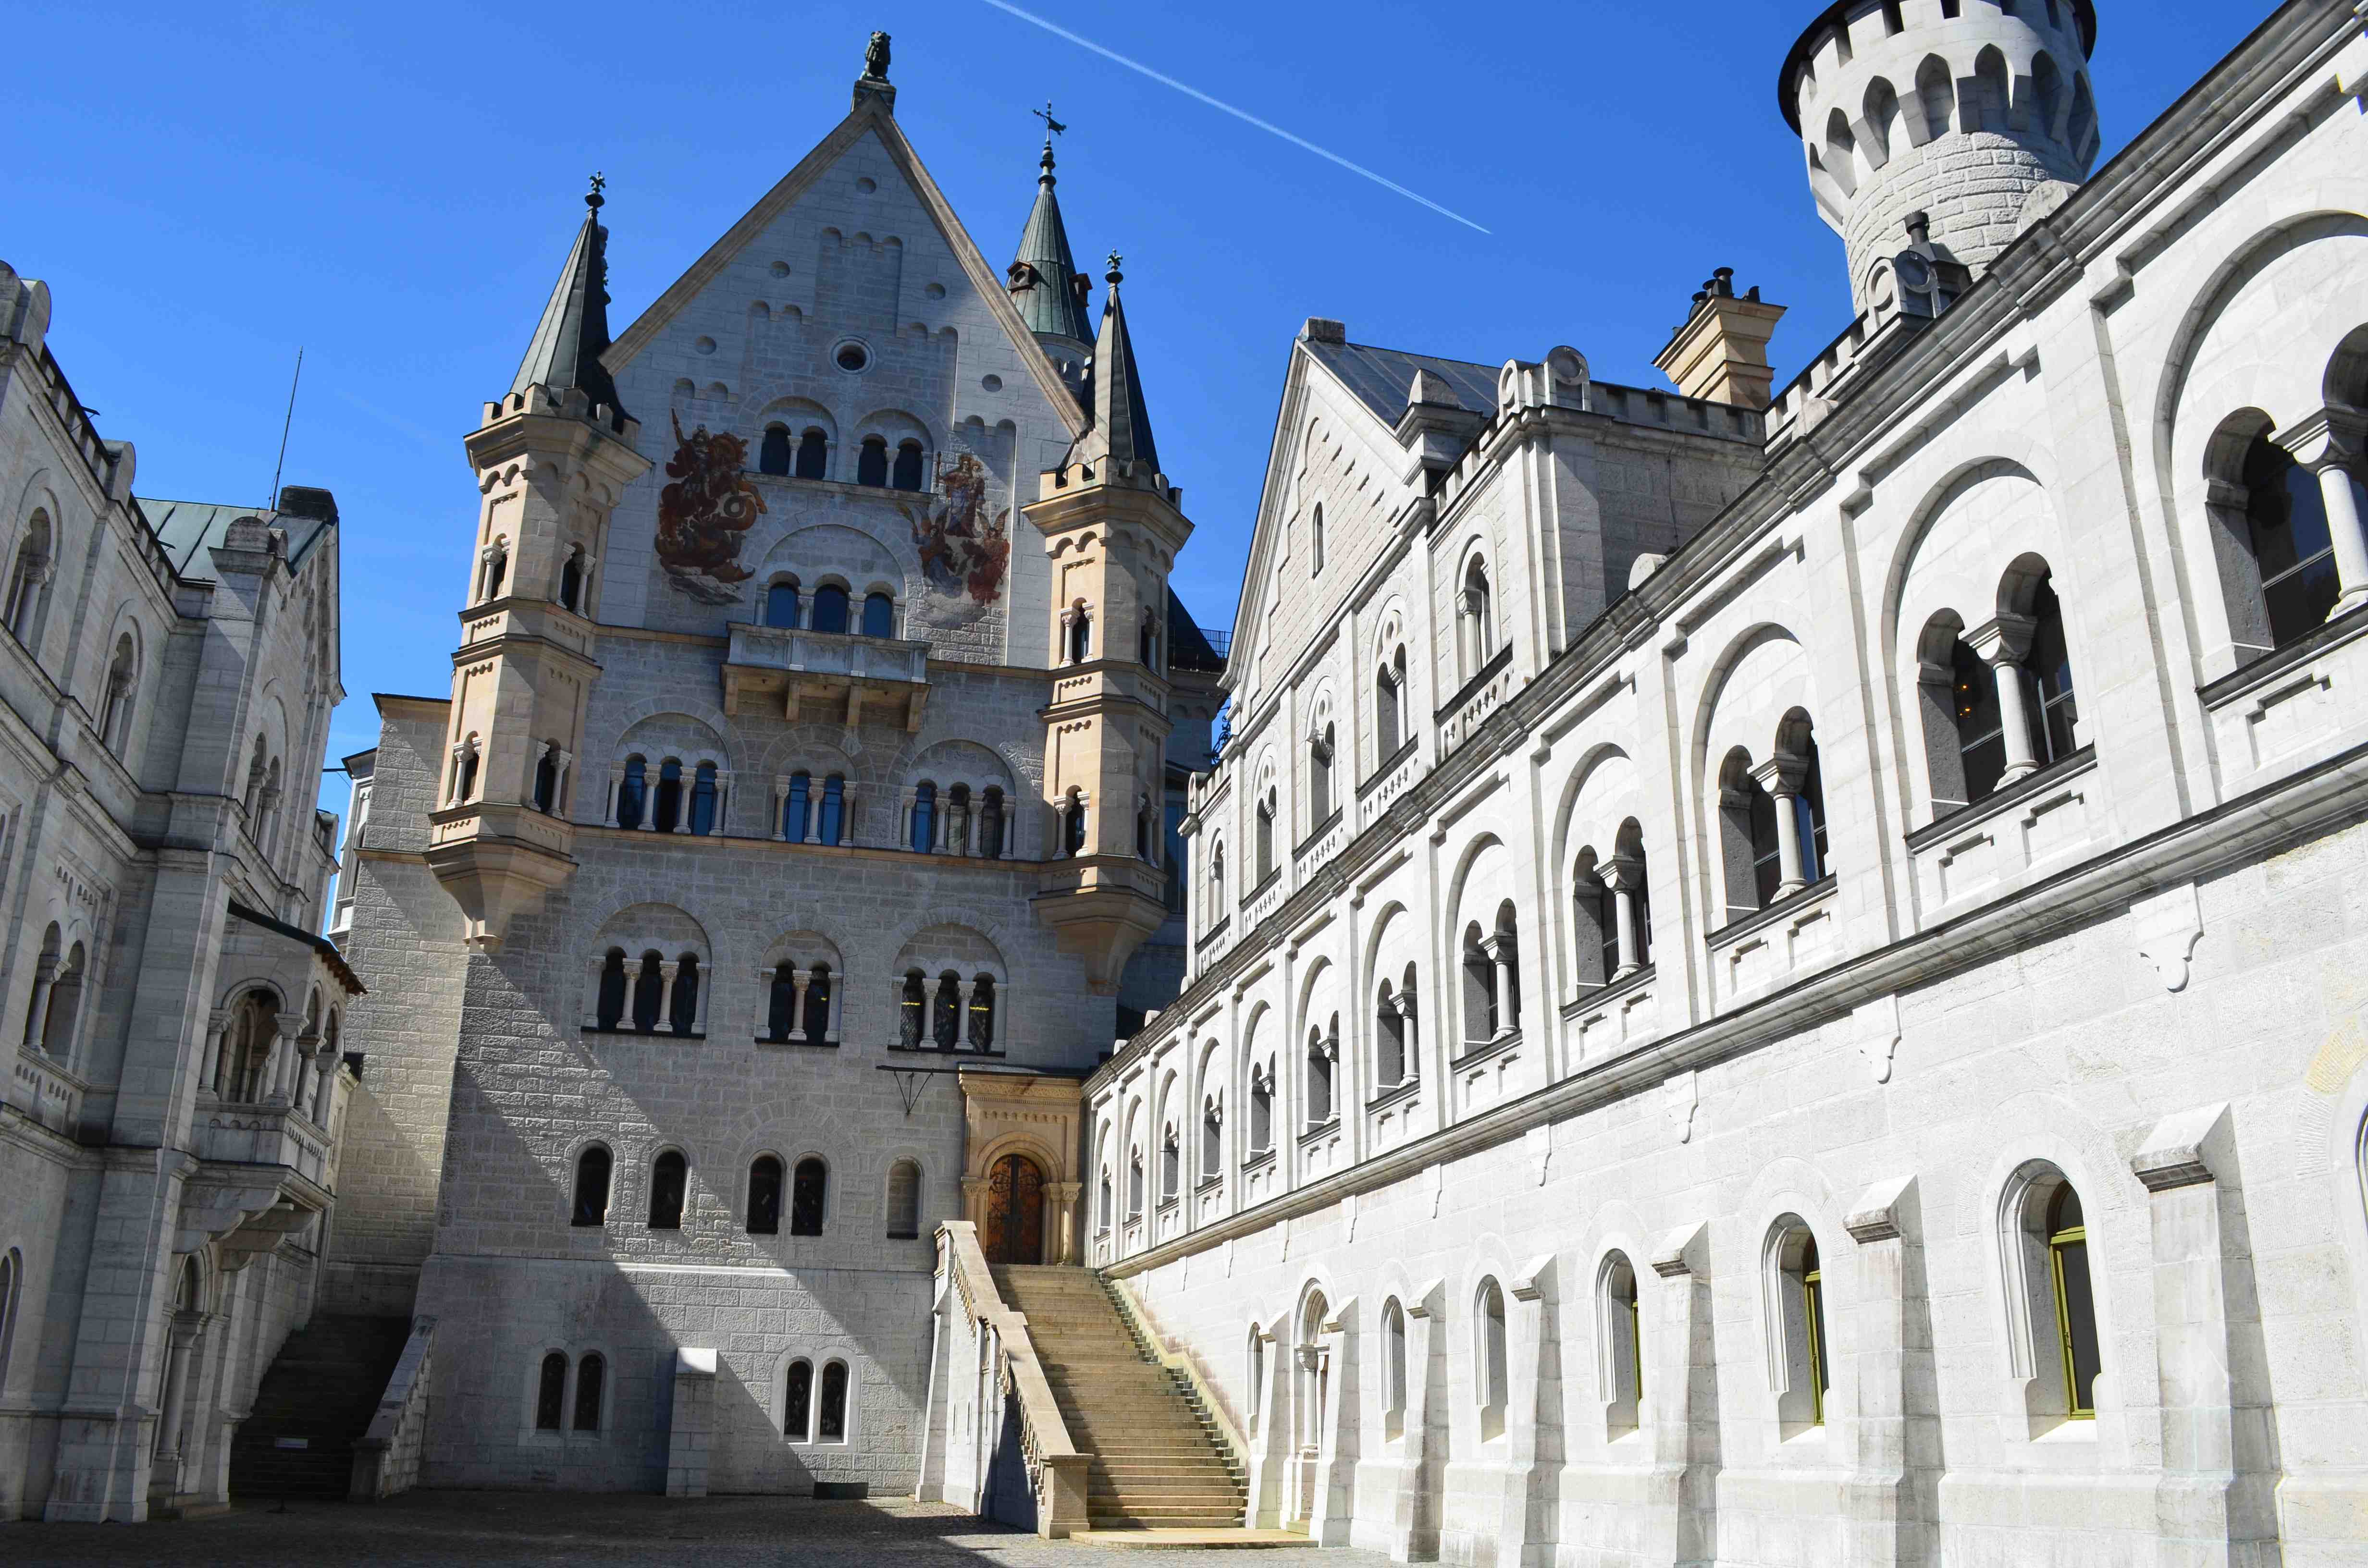
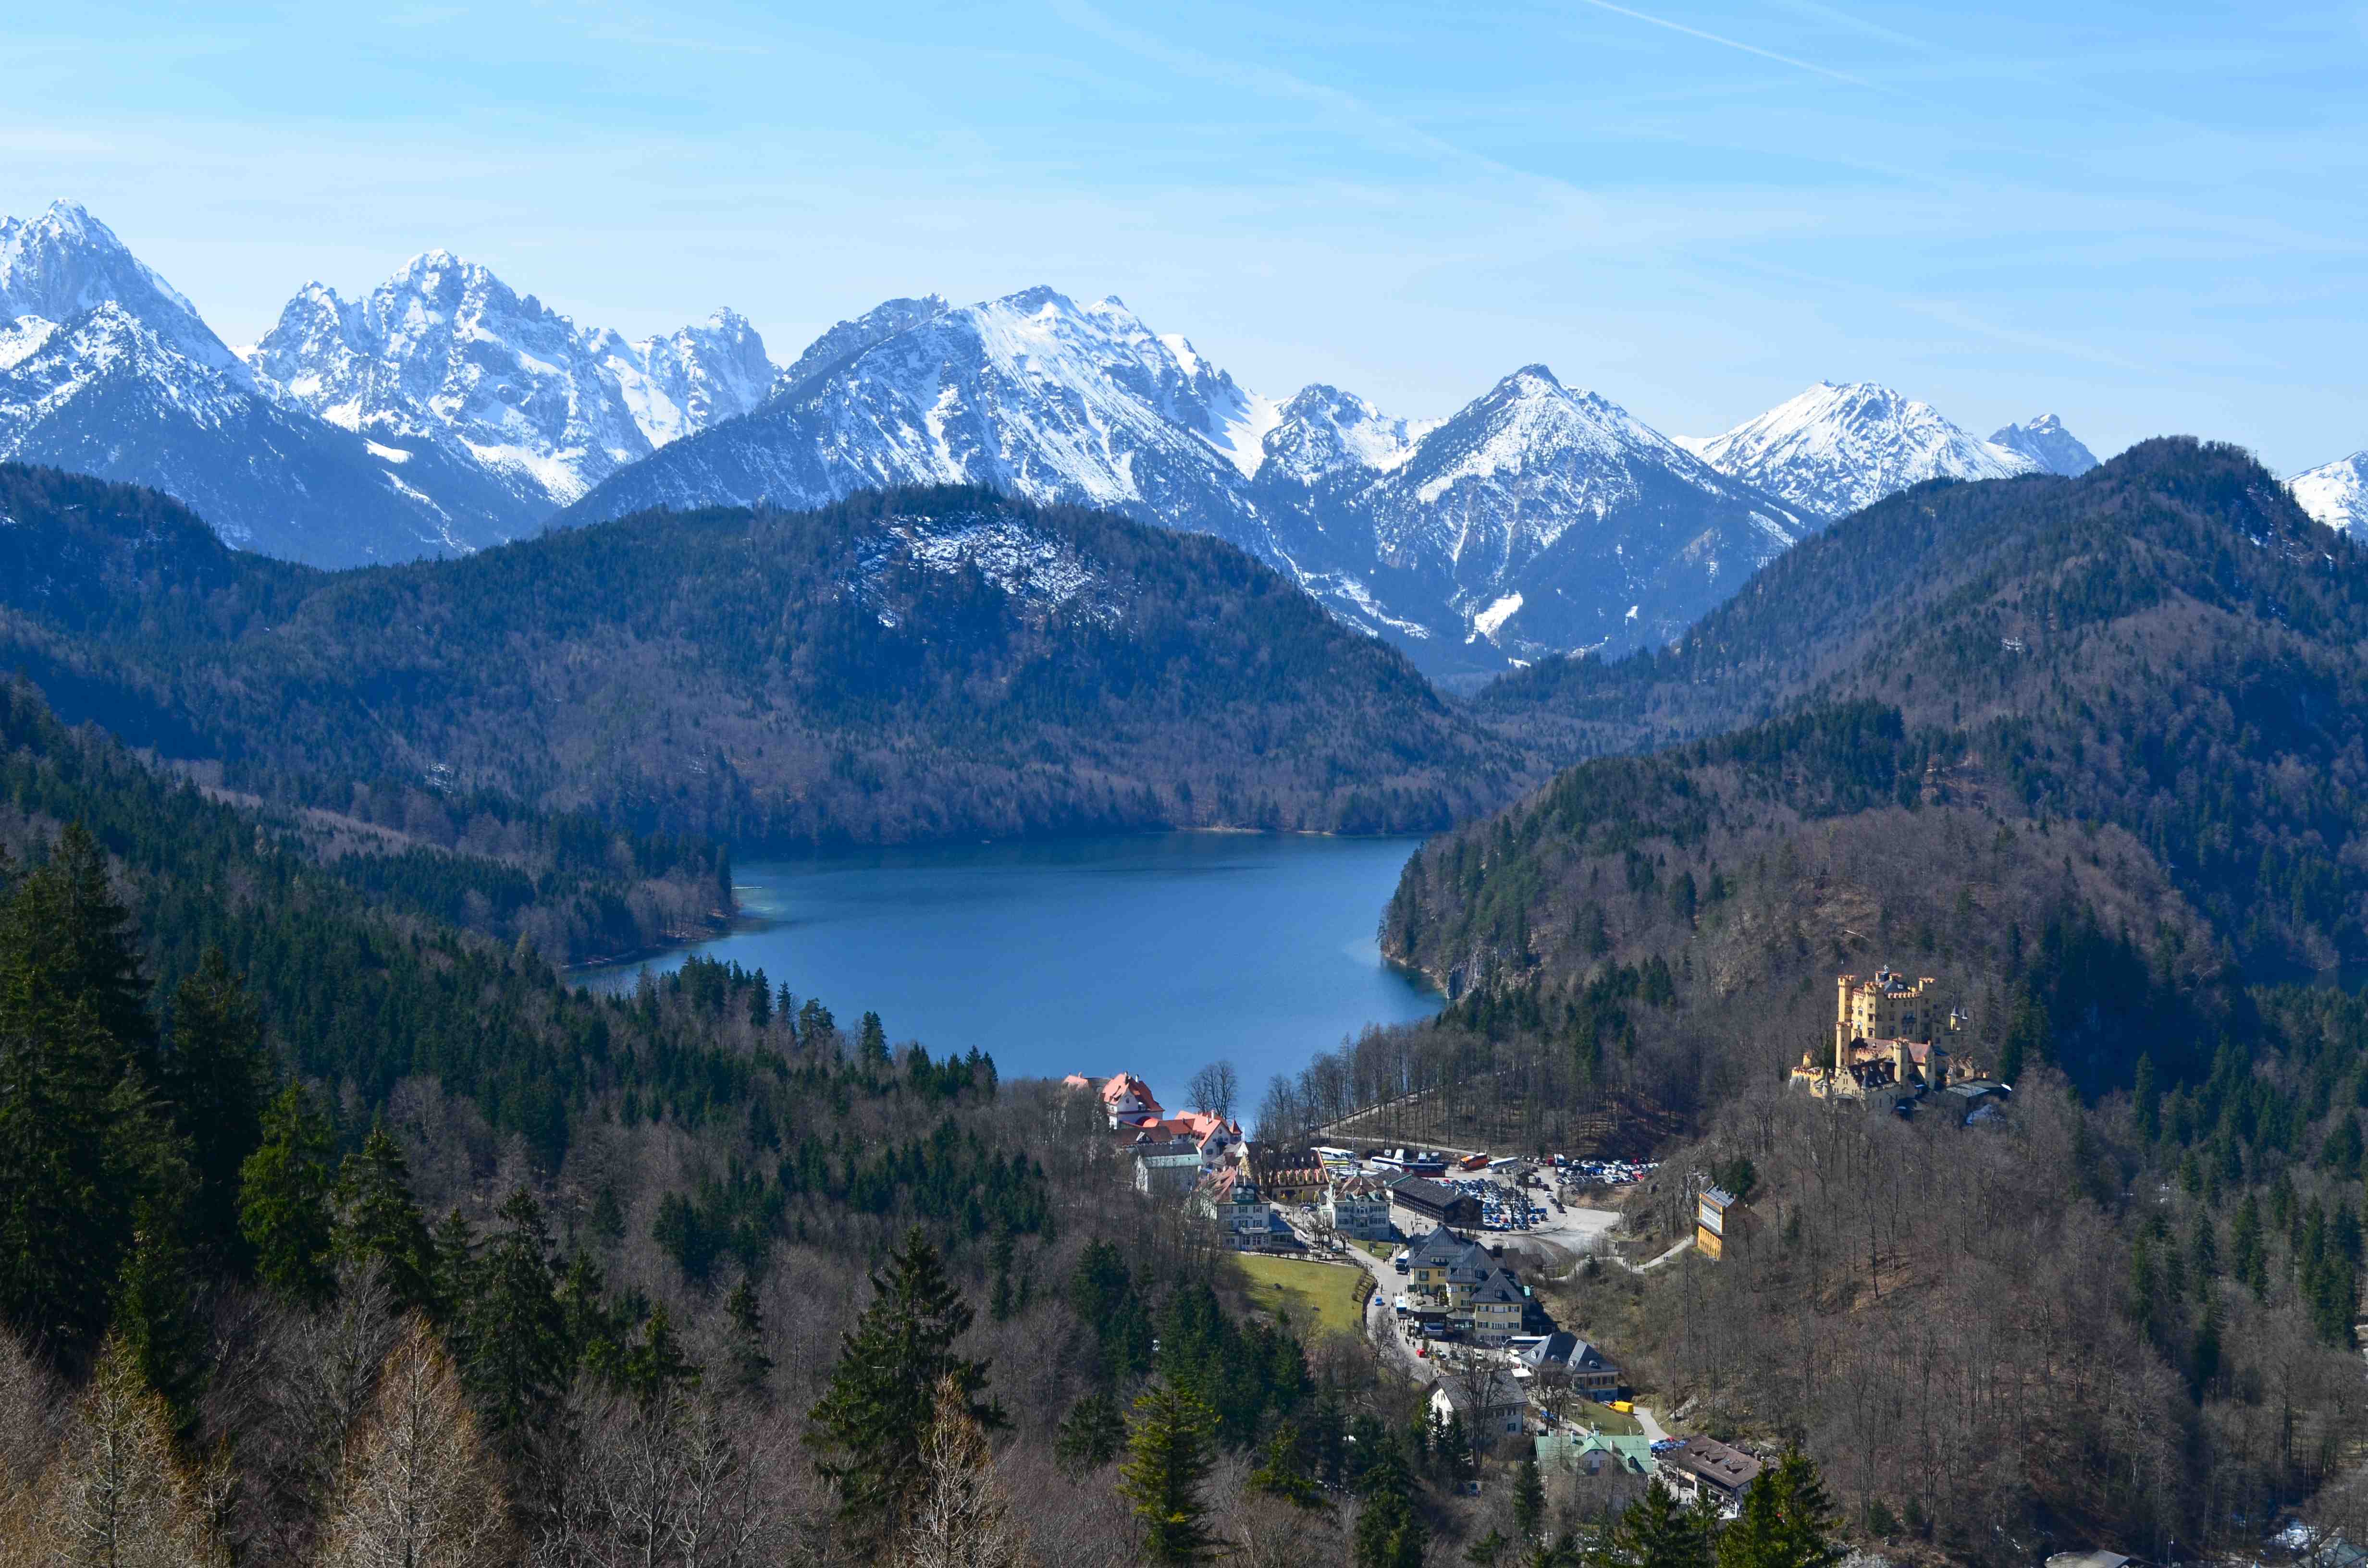
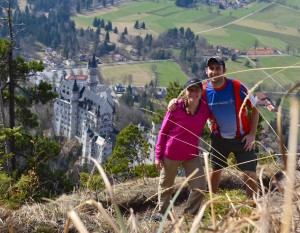
 be a princess, I certainly felt like one sitting up there with my amazing man (yes, my very own Prince Charming), taking in the beautiful weather and landscape below us. We followed the trail back the way we came, all the way to Neuschwanstein and then down into the town below where we had parked our car. To top off our amazing hike, we sipped German Weiss beers as we sat by the lake.
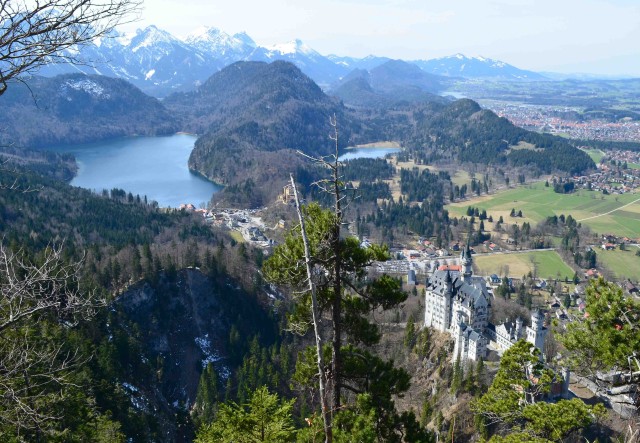


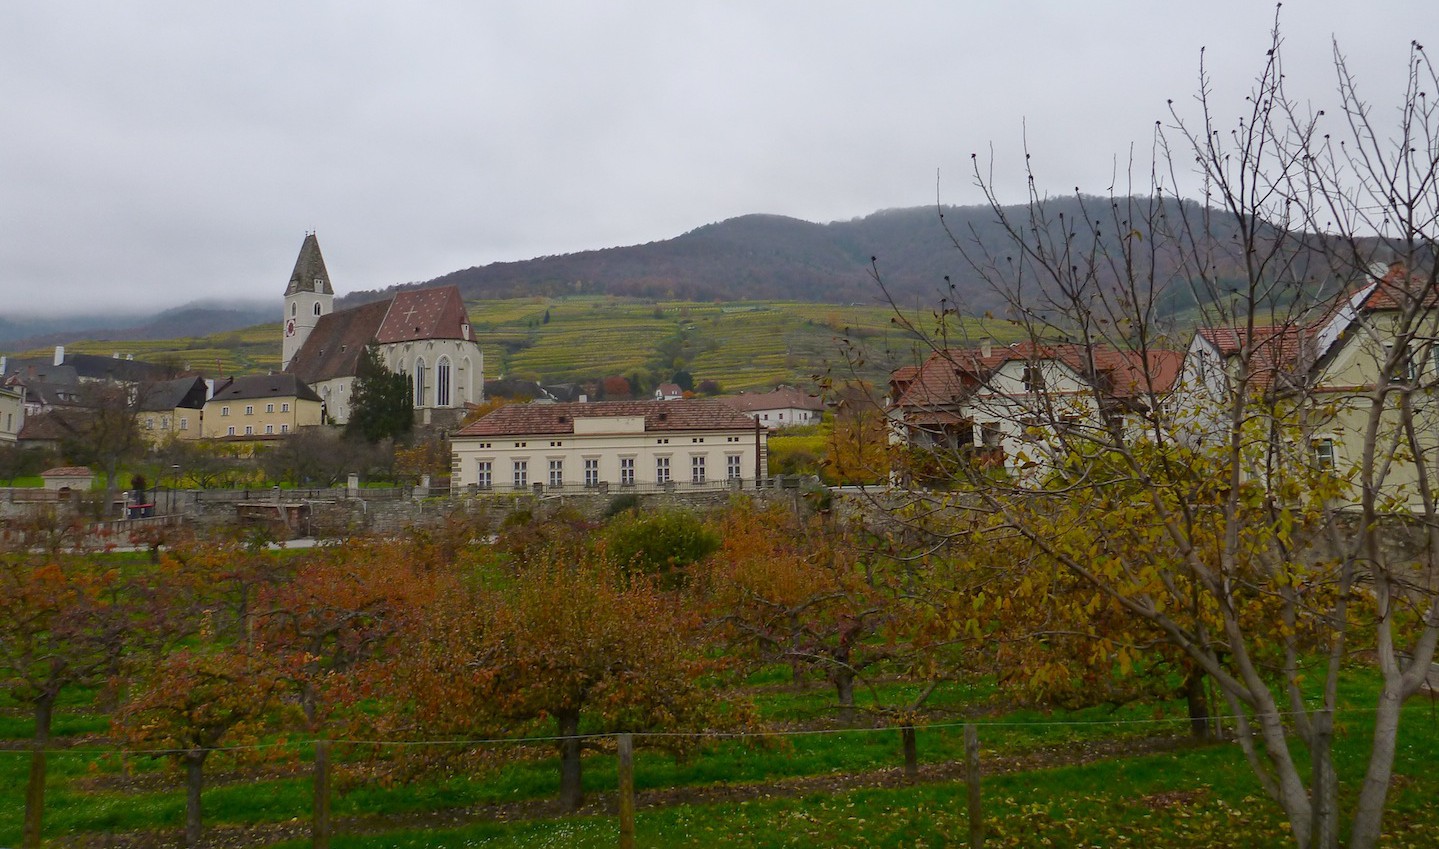
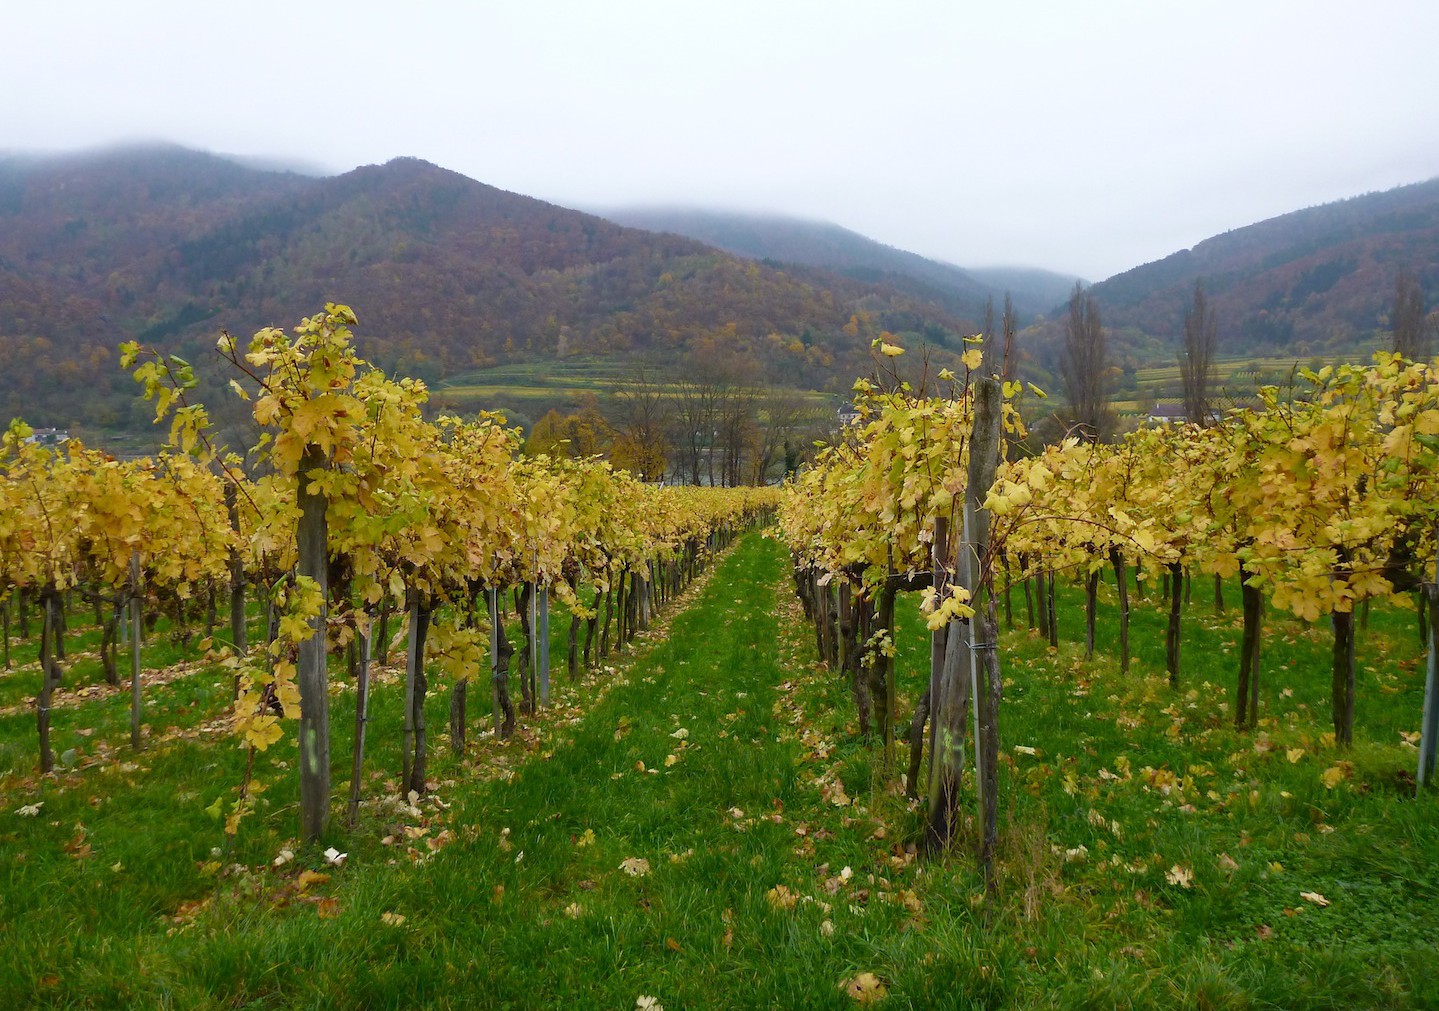
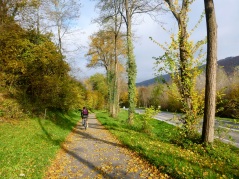 From Melk we biked about 40km on a well-marked bike path. The trail followed a river at times and wound its way through farmland and then eventually through gorgeous vineyards.